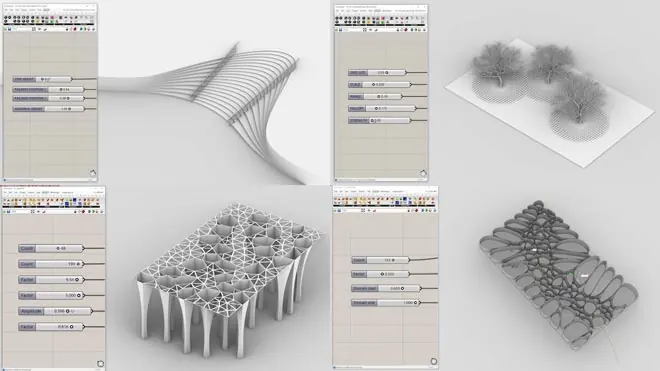
Grasshopper 3D is the visual programming environment that comes with Rhino. Instead of writing code, you connect components on a canvas, and the network of connections becomes a design you can change by moving a slider. That is why it has become the standard tool for parametric design and parametric architecture.
This guide explains what Grasshopper is, how a definition works, what it costs and where Grasshopper 2 stands in 2026. It also shows what architects use it for, walks through a first facade exercise and sets out a learning path. The design tool is unrelated to other products called Grasshopper, such as a learn-to-code app and a business phone service.
Grasshopper 3D key facts
| Question | Answer |
|---|---|
| Who makes it | David Rutten at Robert McNeel & Associates, the company behind Rhino |
| First release | 2007, under the name "Explicit History"; added to Rhino for Windows in 2008 as Grasshopper |
| Included with Rhino | Since Rhino 6 for Windows (2018) and Rhino 6 for Mac (2019) |
| Price | No separate price. It comes with a Rhino licence: Rhino 8 costs $995 commercial or $195 for students and faculty (US pricing), and licences do not expire |
| Trial | The full Rhino evaluation runs for 90 days; after that, saving and plugins stop working |
| File formats | .gh (binary) and .ghx (XML) |
| Version to use | Grasshopper 1 in Rhino 8 for real projects; Grasshopper 2 is a beta inside the Rhino 9 beta |
| Plugins | More than 1,100 Grasshopper apps are listed on Food4Rhino (September 2026); many install through Rhino's Package Manager |
What is Grasshopper 3D?
Grasshopper 3D is a visual programming language that runs inside Rhinoceros 3D. It was created by David Rutten (click for his blog) in 2007 and started life as a plugin. Since Rhino 6 it installs with Rhino, so every Rhino user already has it: type Grasshopper in the Rhino command line to open it.
In a typical programming language you write lines of code, and you need to know the syntax before you can build anything meaningful. In Grasshopper you place components on a large canvas and connect them with wires. Each component contains a function. Data flows from left to right, and the result appears in the Rhino viewport as a live preview.
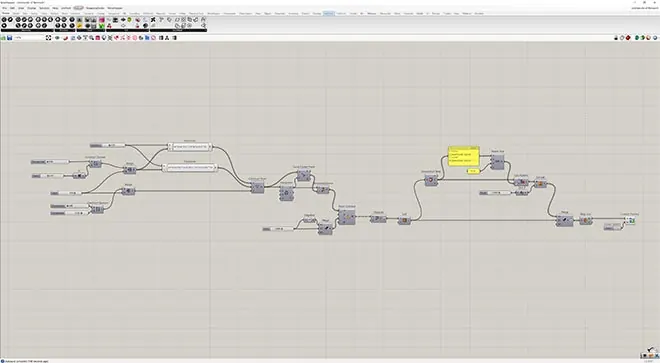
The simplest example is a sphere. The Sphere component has two inputs, a base point and a radius. Connect a Number Slider to the radius, drag the slider, and the sphere updates instantly.
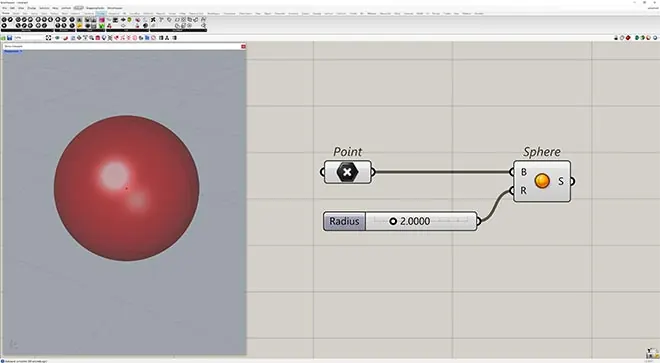
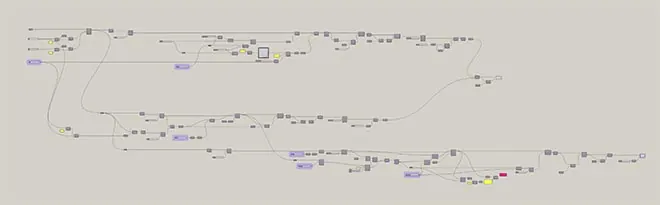
That small network is already a Grasshopper definition (some people call it a Grasshopper script). You can produce as many design iterations as you like without redrawing anything. Real definitions connect dozens or hundreds of components, but the principle stays the same: control the inputs and you control the geometry. You do not need to know how to code; you need to understand what each component does and how data moves between them.
The four ideas behind every definition
- Parameters hold data: points, curves, numbers, text. A parameter can reference geometry you drew in Rhino.
- Components do something with that data: divide a curve, move a point, loft surfaces, measure an area.
- Wires pass the output of one component into the input of the next. Change something upstream and everything downstream recalculates.
- Baking turns the preview into real Rhino geometry once you are happy with it (right-click a component and choose Bake).
Once lists get longer, you will meet data trees, Grasshopper's way of organising lists within lists. They are the main hurdle for most beginners and worth learning properly rather than working around.
Try it: a parametric fin facade in seven steps
This exercise builds a row of vertical facade fins whose number, depth, height and rotation are all controlled by sliders. Draw a straight line about 12 m long in Rhino first; it represents the edge of the facade. Component locations are given as tab and panel.
| Step | Component | What to connect |
|---|---|---|
| 1. Reference the edge | Curve (Params > Geometry) | Right-click, choose Set one Curve, pick your line in Rhino |
| 2. Place the fins | Divide Curve (Curve > Division) | C: the curve. N: a Number Slider set to 24. Output P gives the fin positions |
| 3. Draw each fin in plan | Unit Y (Vector > Vector) and Line SDL (Curve > Primitive) | S: the points. D: Unit Y. L: a slider for fin depth, for example 0.4 |
| 4. Give the fins height | Unit Z (Vector > Vector) and Extrude (Surface > Freeform) | B: the lines. D: Unit Z with its factor F set by a height slider, for example 3 |
| 5. Count the fins | List Length (Sets > List) | Connect the points. Dividing into 24 segments gives 25 points |
| 6. Create a rotation for each fin | Series (Sets > Sequence) | S: 0. N: a step slider, for example 3. C: the list length |
| 7. Rotate the fins | Rotate (Transform > Euclidean) | G: the extruded fins. A: the series (right-click A and choose Degrees). P: the points, which become rotation planes |
Now move the sliders. The count changes the rhythm of the facade, the depth changes how much shade the fins cast, and the step angle turns a flat row into a twisting surface. When one option works, right-click Rotate and bake it. A good next step is to replace Series with a Graph Mapper so the rotation follows a curve instead of a straight increase, or to drive the angles from a sun study with Ladybug.
Why architects use Grasshopper 3D
If you are an architect or an architecture student, you know how hectic the days get. Being able to produce many design options quickly, and to automate repetitive modeling, saves time on every deadline. That is the main reason Grasshopper is used in so many architectural offices. It is also why job listings for design architects so often ask for Rhino and Grasshopper.
| Task | Typical tools | Where to start |
|---|---|---|
| Facade and form studies | Core components, Graph Mapper, attractors | Hexagonal modular facade |
| Automating repetitive modeling | Core components | Spiral staircase |
| Fabrication, nesting and 3D printing | Core components and fabrication plugins | 3D printing facades |
| Sun, climate and energy analysis | Ladybug Tools | Environmental analysis with Ladybug |
| Form finding and physics | Kangaroo | Kangaroo plugin |
| Structural analysis | Karamba3D | Best Grasshopper plugins |
| Design optimization | Galapagos (built in), Wallacei | Optimization in Grasshopper |
| BIM and documentation | Rhino.Inside.Revit | Rhino Inside Revit |
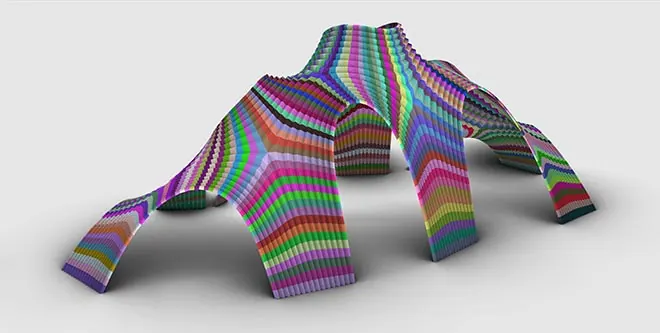
Fabrication is a good example of the time savings. When we build a physical model with a laser cutter, a Grasshopper definition can lay the pieces out on the sheet to save material and label every part, so we know exactly how to assemble it.
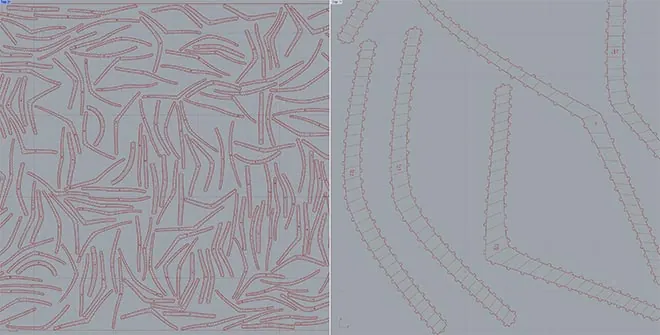
Above is the nesting layout, and below is the assembled model built from those labelled pieces.
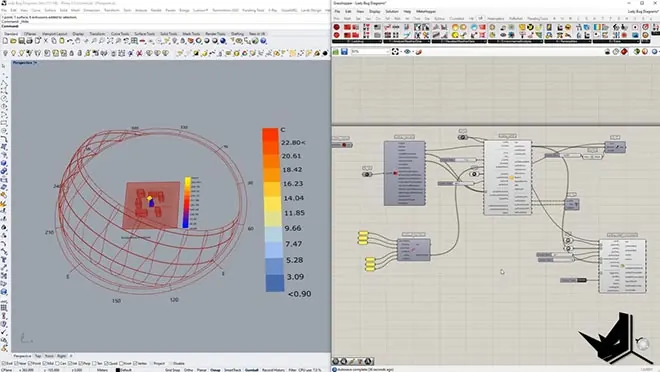
Environmental analysis is the other big reason. With Ladybug Tools you can bring real weather data for your site into Grasshopper and test sun paths, radiation and comfort while the design is still changing, instead of checking a finished scheme at the end.
For more options, see our list of the best Grasshopper plugins for architects and the plugin tutorials.
Grasshopper 1 vs Grasshopper 2 in 2026
In April 2022, David Rutten surprised everyone on McNeel's forum with the release of a Grasshopper 2 alpha. Many people thought it was an April Fool's joke. It was real, with a completely new code base, a new interface and new components.
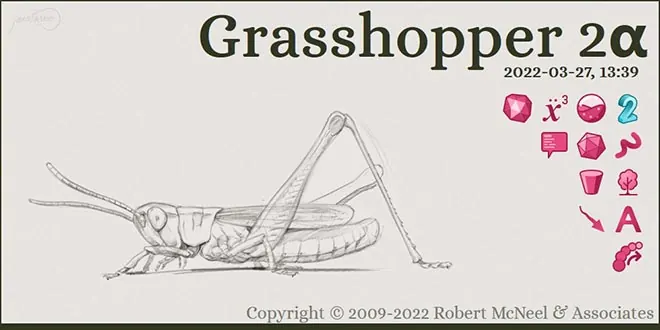
The first alpha came with clear warnings: Grasshopper 2 was not finished, could not open .gh and .ghx files and could not load .gha plugins, and "Grasshopper 1 is not dead". Rutten answered the most common questions in this forum thread, and we covered the new interface in our Grasshopper 2 features video.
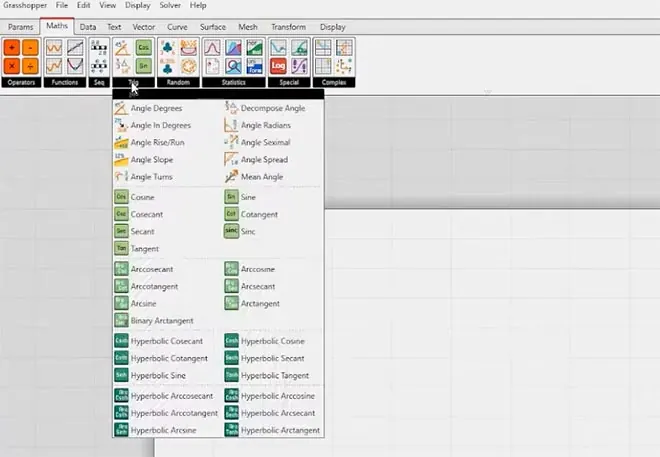
In 2026 the picture is clearer. Rhino 9 is in public beta for Rhino 8 licence holders, and Grasshopper 2 is included in that beta. It opens with the GH2 command and installs alongside Grasshopper 1. McNeel's own guidance is direct:
- Grasshopper 1 is still there and still getting regular enhancements.
- Grasshopper 2 does not yet have feature parity, so production work should stay in Grasshopper 1.
- Grasshopper 1 plugins do not load in Grasshopper 2, and its developer SDK is still evolving.
- Grasshopper 2 can open Grasshopper 1 files, but McNeel does not recommend that workflow.
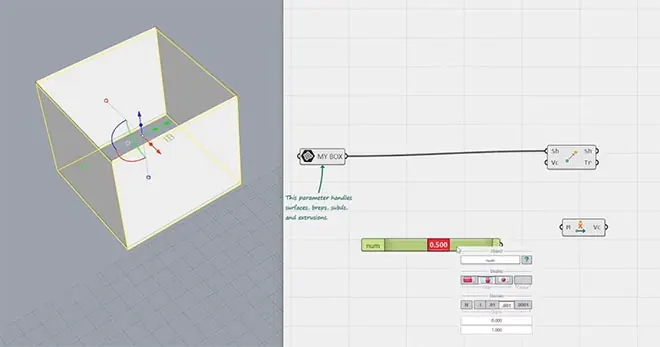
Our advice has not changed: learn Grasshopper 1. The plugins architects rely on every day run there, and the logic you learn carries over when Grasshopper 2 is ready.
Scripting inside Grasshopper
You never have to write code, but you can. Rhino 8 introduced a new Script component with an editor for Python 3 and C#, which is useful when a task would need dozens of components or a loop.
Grasshopper vs Dynamo
Dynamo is Autodesk's visual programming tool, used mostly inside Revit, while Grasshopper is built around Rhino's modeling tools. Rhino.Inside.Revit connects the two worlds. Our Grasshopper vs Dynamo comparison covers when to use each.
Projects designed with Rhino and Grasshopper 3D
Hangzhou Olympic Sports Center Stadium
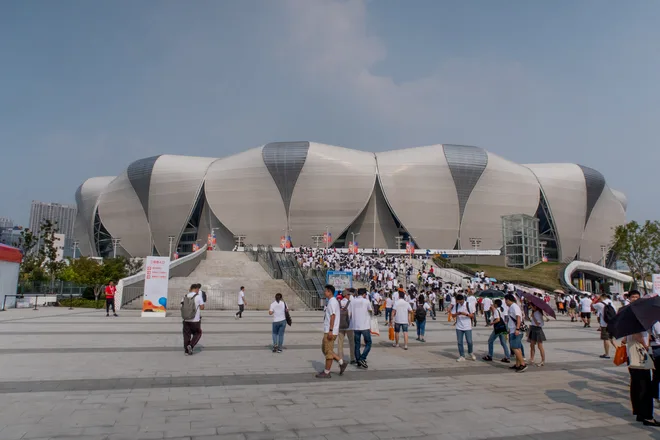
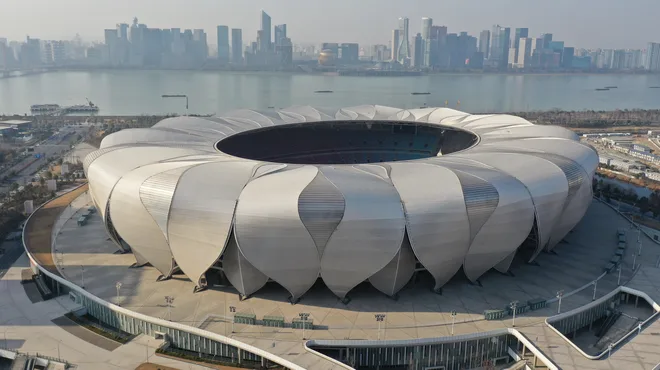
The main stadium in Hangzhou, China, was designed by NBBJ in partnership with CCDI. Writing about the project in 2009, Nathan Miller of The Proving Ground reported that Grasshopper was used to create the parametric model of its petal-like shell. The 80,000-seat stadium was completed in 2018 (The Architect's Newspaper).
Museum of the Future, Dubai
Killa Design, working with Buro Happold, describes using Rhino with Grasshopper, alongside Revit with Dynamo, to build growth-algorithm tools that optimized the building's diagrid, facade and glazing.
A caution: the China Pavilion at Expo Milano 2015
Not every famous parametric roof is a Grasshopper project. For the China Pavilion by Tsinghua University and Studio Link-Arc, the architects describe designing the roof panels by programming their geometry directly in Processing. Before you cite a building as a Grasshopper example, check the designers' own account.
How to learn Grasshopper 3D
Learning Grasshopper takes commitment, but with regular practice and a clear structure you can use it on real projects surprisingly soon. Everyone learns differently, so start from your goal: some of us want to stay up to date with the latest trends in architecture, others need Grasshopper for a specific project or job. Whatever the goal, this order works well:
- Know Rhino first. Grasshopper builds on Rhino's geometry, so learn to draw and edit curves, surfaces and solids.
- Learn the core logic. Parameters, components, wires, sliders and lists, using small definitions like the fin facade above.
- Tackle data trees early. Most confusion later comes from data structure, not from geometry.
- Build one small project end to end. A facade, a pavilion or a staircase, through to baked geometry and drawings.
- Add plugins one at a time. Ladybug when you need analysis, Kangaroo when you need form finding, and so on.
Free resources
Typing "Grasshopper tutorials" into YouTube is a common start, and the education is free. The problem is that anybody can post a tutorial, and Grasshopper is used in many industries. A jewelry tutorial will not help much with an architectural project, so choose sources made for architects.
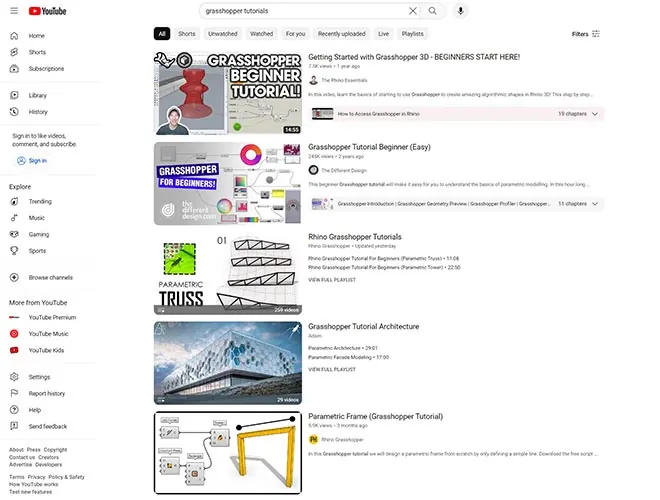
- The How to Rhino YouTube channel has free Rhino and Grasshopper tutorials created for architecture, followed by more than 86,000 subscribers.
- If you prefer to learn by reading, with visual explanations and diagrams, start with our Grasshopper tutorial. It introduces the interface and core components, and by the end you build a small algorithm yourself.
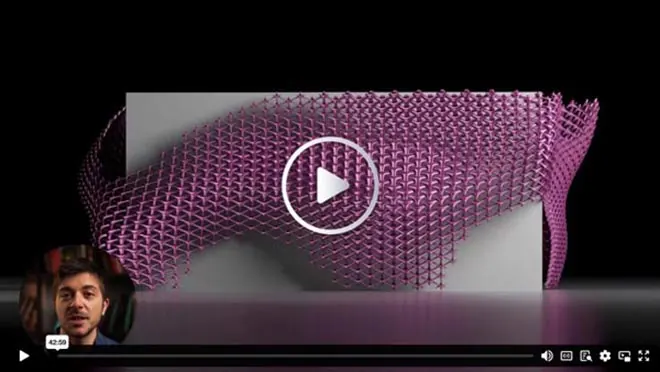
- Our free Rhino for Architects Masterclass is a detailed video training, around 40 minutes long, that shows what Rhino and Grasshopper can do in architecture.
- McNeel's official Grasshopper guides cover data structures and scripting.

Books
If you are a book-type learner, AAD Algorithms-Aided Design by Arturo Tedeschi is, in our opinion, the best book for understanding Grasshopper and its applications in design. Essential Mathematics for Computational Design by Rajaa Issa of McNeel introduces the maths you need to use Grasshopper well; you can download the book here and watch short video lessons from the book.
A structured course
If time is the issue and you want to learn Grasshopper for architecture professionally, you can work with us. Our Grasshopper course takes you from complete beginner to an advanced level where you create complex algorithms from scratch.
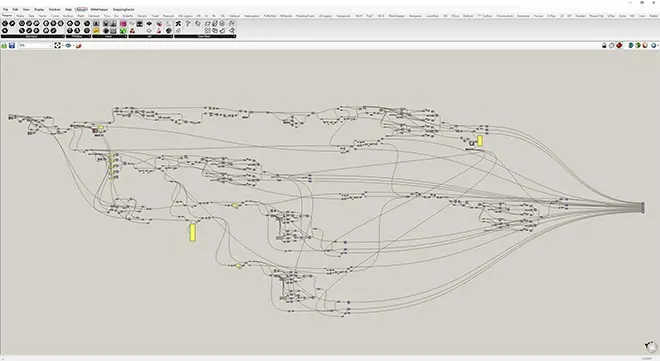
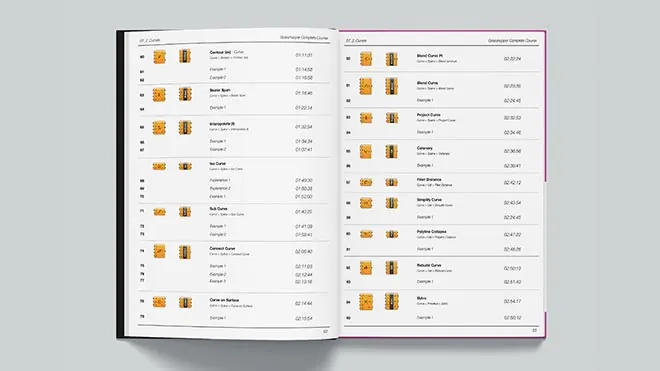
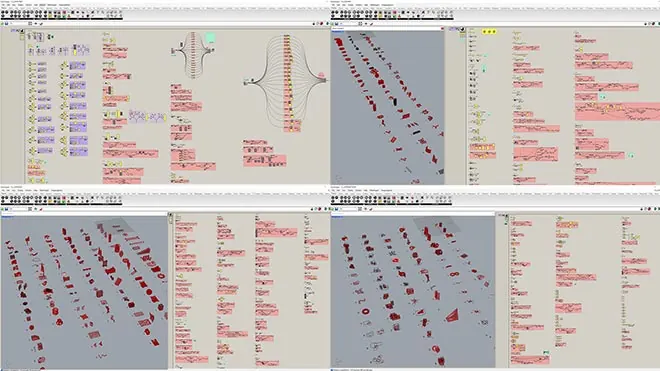
It is a completely structured approach, with detailed explanations of more than 500 Grasshopper components and practical examples, homework assignments and our personal 1 on 1 support.
Frequently Asked Questions
Is Grasshopper free?
Grasshopper has no separate price. It installs with Rhino, so you need a Rhino licence once the 90-day evaluation ends. Many plugins on Food4Rhino are free.
Does Grasshopper work on Mac?
Yes. Grasshopper has been part of Rhino for Mac since Rhino 6 (2019). Some plugins are Windows only, so check each plugin's page before you rely on it.
Do I need to know how to code?
No. Grasshopper is visual, and most architectural work never needs code. Python 3 and C# are there when you want them.
Should I learn Grasshopper 1 or Grasshopper 2?
Grasshopper 1. It is the version McNeel recommends for production work in 2026, and it is where the plugin ecosystem lives.
Where do I find Grasshopper tutorials for architects?
Browse our Grasshopper tutorials, each built around an architectural project.
Conclusion
Grasshopper 3D turns design decisions into parameters you can test, compare and build. We hope this guide explained what it is, how architects use it and how to start. If you know somebody who could use this information, feel free to share it, and if you decide to learn Grasshopper yourself, good luck and happy learning!
Grasshopper Complete Course
Give your architectural skills a boost with the Grasshopper Complete Course. Get over 50 hours of comprehensive Grasshopper training tailored for architects. Learn to generate and iterate designs faster. Click below for more information and streamline your workflows!