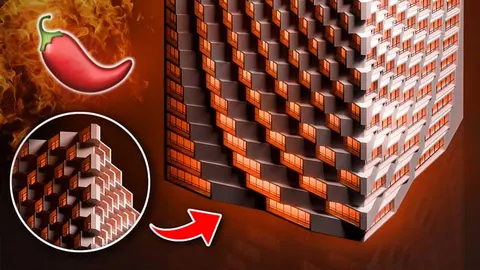
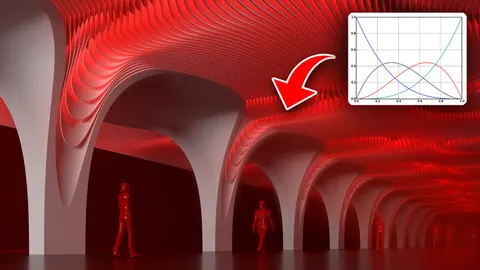
Google Bay View campus in Mountain View, California has a distinct diamond-shaped roof design. Created by BIG and Heatherwick Studio in collaboration with Google, the roof consists of tilted diamond panels with gaps that form vertical glass windows. In this tutorial, we'll show you how to recreate a similar roof design in Rhino and Grasshopper.
Overview
We'll start by generating a 2D diamond grid in Rhino. Then we'll bring it into Grasshopper and transform the grid into a 3D mesh surface. Using attractor points, we'll lift the mesh vertices upward to create the diamond-shaped roof panels. We'll use boundary surfaces to create the actual roof surfaces between the mesh edges. Finally, we'll add vertical glass panels in the gaps between the roof surfaces.
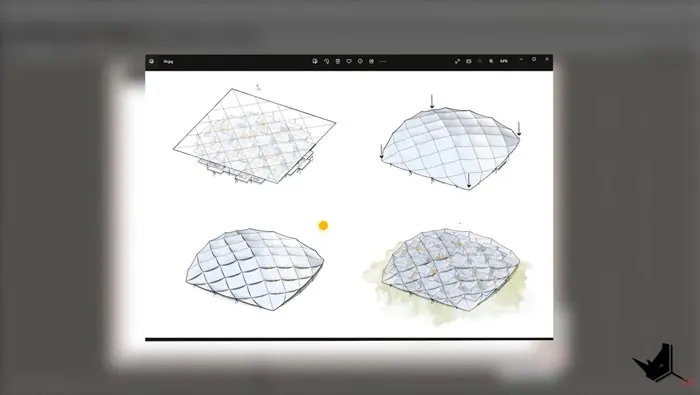
Generating the Diamond Grid in Rhino
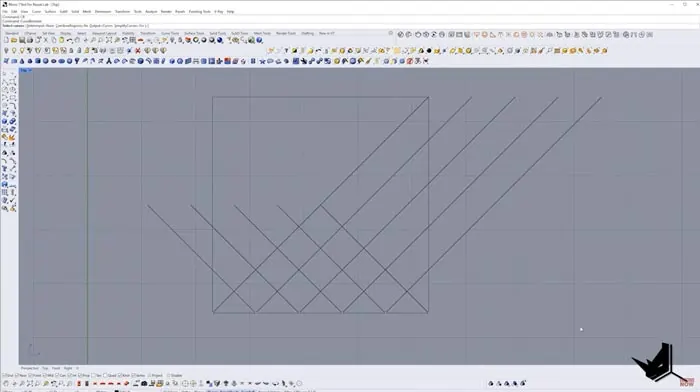
First, we'll draw a square in Rhino using the Rectangle command. Then we'll divide one edge into 5 equal segments to find the midpoint. Using the midpoint as a center, we can draw diagonals to create a diamond segment.
We'll copy this segment to create a larger diamond grid using Polar Array. This will be our base 2D grid that we'll bring into Grasshopper.
Transforming the Grid in Grasshopper
In Grasshopper, we input the Rhino curves as the diamond grid. We weld them together into a single mesh using the Join Mesh component.
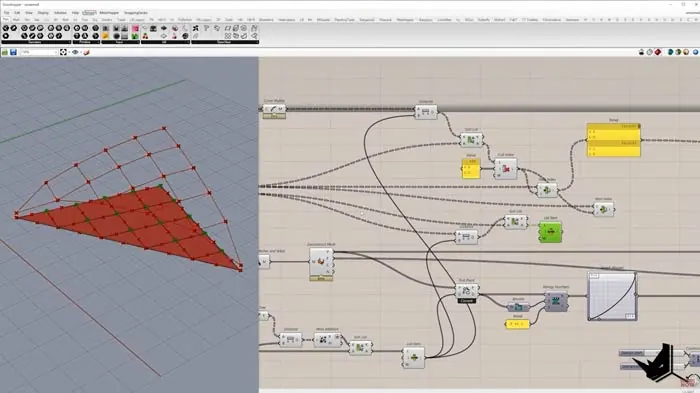
Next, we find the center vertex of the mesh that will act as our attractor point. We extract the mesh vertices and remap their distance to the attractor point to a 0-1 domain. This gives us values to lift the vertices upward based on their distance to the center.
Creating the Roof Surfaces
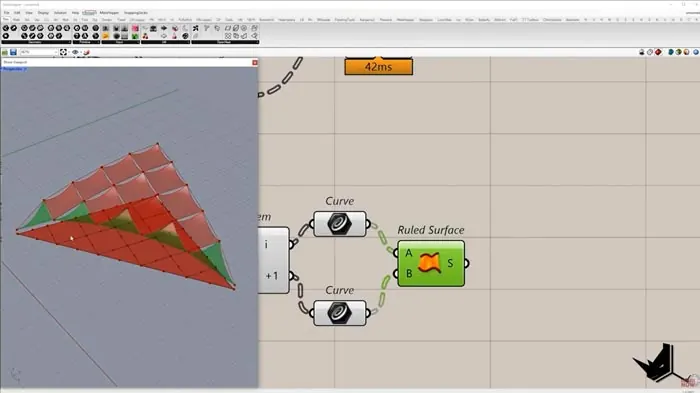
The lifted vertices allow us to create a new 3D mesh. We sort the original Rhino curves based on their distance to the attractor point. The two closest curves per segment will become lofted Cary curves to create the tilted roof surfaces.
The remaining segments will be straight lines. We create surfaces between the edges using the Network Surface component.
Adding Vertical Glass Panels
To create the vertical glass panels between the roof surfaces, we find closest point pairs along the mesh edges. We then loft between the curve segments associated with those points.
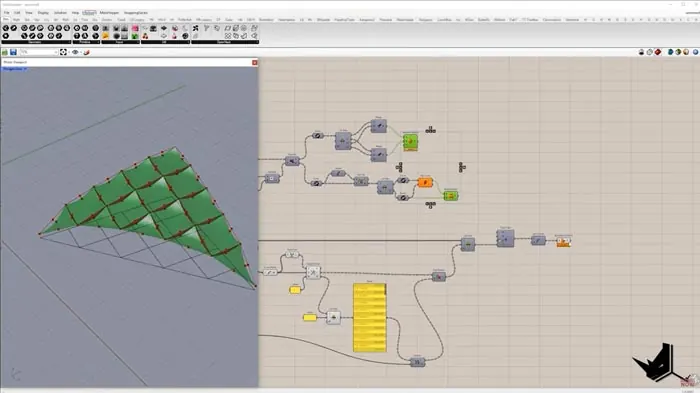
This leaves us with the completed roof including the signature tilted diamond panels and vertical glass gaps.
Modifying the Roof Design
The roof geometry is dynamically linked to the original diamond grid curves in Rhino. By modifying those base curves, we can easily explore different roof shapes and orientations.
Extended Tutorial
In the full tutorial, we also cover how to create the entire grid pattern in Grasshopper using the Paneling Tools plugin. This allows full control over the diamond panels within Grasshopper.
We'll also add further details like columns, glass frames, and side panels to create a complete building façade similar to the distinctive Google Bay View campus. The extended tutorial is available for download on our Patreon page, along with access to all our other premium tutorials and project files.
Conclusion
Recreating complex architectural geometries like the Google Bay View roof is made possible with the power of Rhino and Grasshopper. Following this step-by-step tutorial, you'll learn techniques to generate and transform 2D grids, create intricate 3D roof surfaces, and add details like glass panels. With these skills, you'll be able to model a wide range of façade designs.

Rhino for Architects Course
Give your architectural skillset a major boost with the Rhino for Architects Course. Get over 60 hours of focused training tailored specifically for architects. Master commands and techniques to model, render, and animate architectural visualizations at the highest level. Click below for more information and watch your designs come alive!

