The Calatrava Bridge, also known as the Samuel Beckett Bridge, is one of the most iconic and visually stunning bridges in the world. Designed by famous architect Santiago Calatrava, this bridge possesses a unique harp-like design featuring inclined pylons and suspension cables.
In this comprehensive two-part tutorial, we will explore how to model the Calatrava Bridge in Rhino step-by-step. Whether you are new to Rhino or an experienced user, this guide will provide valuable insights into recreating complex real-world structures in Rhino.
Overview of the Bridge Design
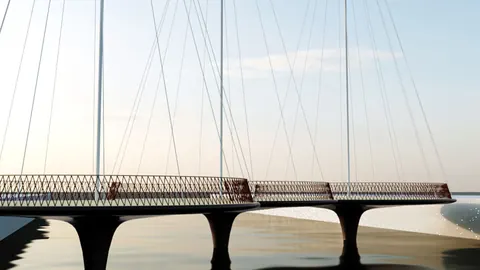
Located in Dublin, Ireland, the Calatrava Bridge is a cable-stayed bridge exhibiting the architect's trademark style. It consists of a single central pylon leaning to one side with suspension cables fanning out on both sides.
The bridge deck is supported by the inclined pylon resembling an inverted harp reaching a height of 120 meters. The pylon consists of a tall hollow spine tilting at an angle of 54 degrees.
The bridge spans 180 meters between the end supports and 32 cables extend from the pylon to the deck on either side. The deck comprises a central box girder with cantilevered pedestrian walkways.
Modeling Approach
To model the Calatrava Bridge in Rhino, we will take the following step-by-step approach:
- Import reference images and trace keylines
- Model end supports and bridge deck
- Create an inclined pylon with cables
- Add detailing like surface ribs and end column
This will allow us to systematically build up the bridge with precision. Let's look at each step in detail.
Set of the Calatrava Bridge Design
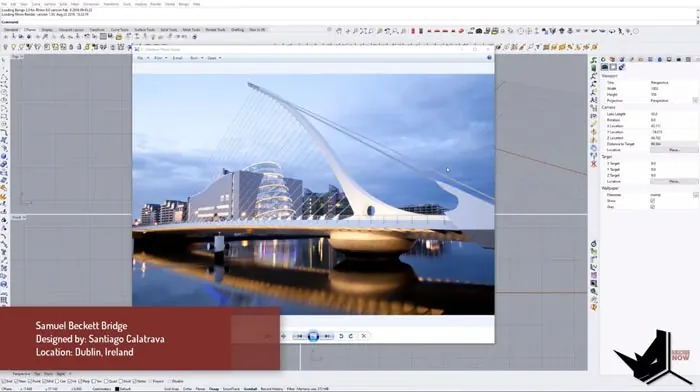
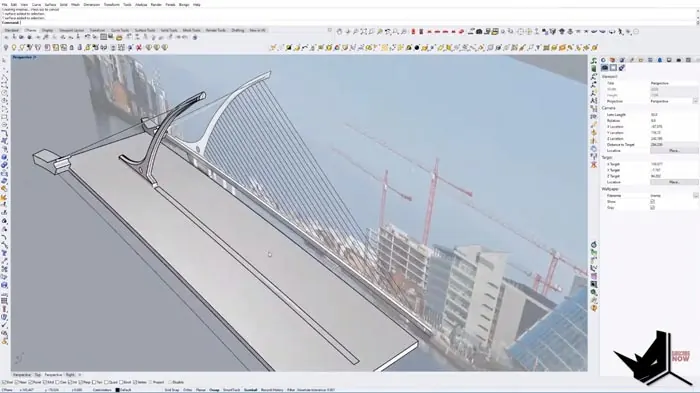
First, we import the reference image into Rhino and scale it to the appropriate size. After reducing transparency, we can lock it in place to trace over key contours using lines and arcs.
The goal is to outline the critical geometry like the deck, pylon, cables, and end supports. This will provide construction curves to model each component.
We need to model the curvature accurately, so using interpolated points and arcs is necessary when tracing. Snap to endpoints enables clean intersections.
Modeling the Deck and Supports
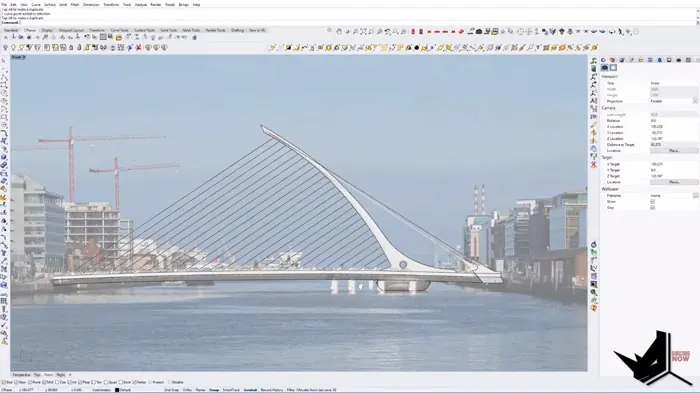
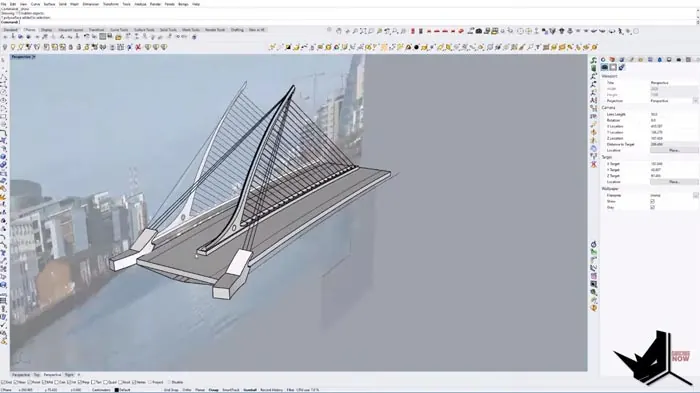
With the tracings completed, we have the foundational curves required to build up the bridge deck. We create surfaces from this skeleton to represent the deck, box girder, and walkways.
The end supports holding the deck are modeled using simple box-like shapes. We align and orient them to match the perspective and height of the image. Sweeps and lofts help generate the smooth deck profile.
It is essential to continually overlay the model with the image to check proportions and alignment. We can iteratively adjust the model as needed to improve accuracy at this stage.
Constructing the Pylon and Cables
Next, we shift focus to creating the iconic inclined pylon with the fanned cables. The critical aspect here is using Rhino's project command to achieve the precise 54-degree tilt.
We take help from the tracings to position the endpoints of the cables. Using interpolation points, we trace the cable contours. Then piping these curves creates the 3D cables.
For the anchoring cables near the deck, we extract isocurves from the surface to connect them precisely to the pylon. This requires splitting, trimming, and aligning surfaces.
Adding Surface Details
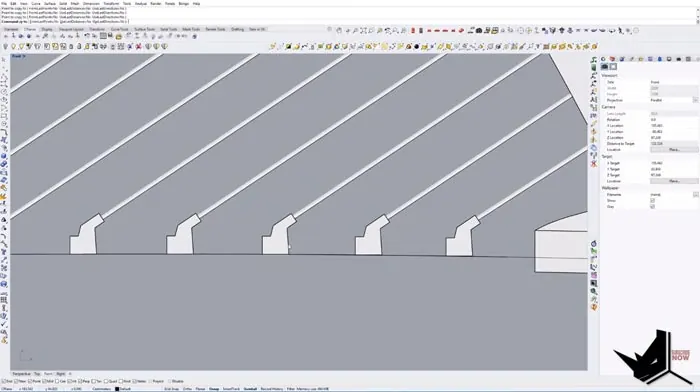
At this stage, we have completed the main bridge structure comprising the deck, pylon, and cables. Now we add finer details like the surface ribs and end support using sweeps, blends, and trimming.
The central part of the deck has ribs extending outwards. We create these protrusions with sweeps using railing curves and cross-sections. Trimming the edges gives us the required shape.
For the termination, we use a revolved surface with blending to generate a curved column supporting the pylon. This enhances realism further.
Final Touches and Rendering
With the modeling process complete, we can add materials and textures to resemble the distinctive Calatrava style. Applying rendered modes reveals a photorealistic model true to the original bridge vision.
As we have seen, Rhino provides all the tools needed to recreate intricate real-world forms like the Calatrava Bridge. The combination of image tracing, surface generation, and transformation commands allows the crafting of complex shapes with precision.
So download Rhino now and start modeling landmark architecture! Let us know if you were able to model the Calatrava Bridge using this guide.

Rhino for Architects Course
Give your architectural skillset a major boost with the Rhino for Architects Course. Get over 60 hours of focused training tailored specifically for architects. Master commands and techniques to model, render, and animate architectural visualizations at the highest level. Click below for more information and watch your designs come alive!