Rhino is commonly used for complex 3D models, but it can also be a powerful tool for creating precise 2D drawings. In this tutorial, we will walk through the process of recreating a sample architectural plan in Rhino step-by-step.
Overview
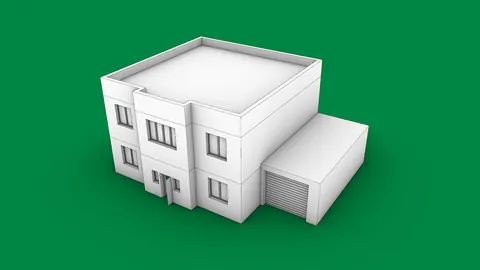
The sample drawing we will recreate is a basic floor plan with walls, doors, windows, stairs, furniture, and dimensions. We will build it from the ground up in Rhino using a combination of lines, polylines, circles, rectangles, and other geometric shapes.
While specialty CAD software like AutoCAD is commonly used for architectural drawings, Rhino can achieve similar results if you know how to use its robust 2D drafting tools. The benefit of using Rhino is that the 2D floor plan can be easily integrated with 3D modeling for complete architectural visualizations.
Setting Up in Rhino
First, we import the sample drawing into Rhino as a template to trace over. After scaling it appropriately, we can lock it in place as a reference layer.
Next, we split the single Rhino viewport into two side-by-side top views. This allows us to reference the plan on one side while drafting on the other.
Using Rhino's rectangle tool, we add vertical guideline lines to represent the column grid and add text labels. The dashed line type and axis layer make them look like true architectural aids.

Creating the 2D Floor Plan
With our guidelines in place, we dive into creating the 2D drawing. We use Rhino's line and polyline tools to trace over the exterior and interior walls one by one. We create openings in the walls for doors and windows using copy commands, trimming, and rectangles for framing.
The doors and windows get their own layers with different colors and line types for clarity. We draw them in 2D but add a third line to suggest depth and get them to look like true architectural elements.
Moving on from the core elements, we use techniques like polylines, circles, and rectangles to draft in the stairs, counters, beds, and other furniture. We mirror objects to quickly duplicate symmetrical items on both sides.
For more complex shapes like the sinks, shower, and chairs, we use NURBS curves to trace right over the reference drawing to capture the contours. We group the finished objects so each furniture block stays together.

Annotating the 2D Drawing
Finally, dimensions are applied using the linear dimension tool. The dimension text starts too large, so we adjust the style settings to customize the appearance to match the sample plan.
Dimension lines are added starting from one corner, making sure to correctly snap to points on the model. Once the overall size and layout are defined, smaller dimensions can be added for interior wall lengths and openings.

After duplicating these steps for the entire drawing, we have replicated the architectural floor plan fully in Rhino. The completed model is layered, detailed, and dimensioned. It can be used as-is for 2D documentation or extruded into a 3D model.
Benefits of Creating 2D Drawings in Rhino
While not as dedicated for drafting as AutoCAD, Rhino offers some unique advantages when creating 2D drawings:
- Integration with 3D modeling and rendering in one program
- More flexibility for complex organic shapes
- Easy layout of views side-by-side
- Full non-destructive editing and adjustments
By mastering 2D drafting in Rhino, architectural designers can enjoy a smoother workflow from initial concepts to finished documentation.
Tutorial Recap
The key steps we followed were:
- Set up template and viewports
- Draft exterior and interior walls
- Add doors, windows, stairs, furniture
- Include dimensions and text
- Refine details and linework
With patience and practice, the Rhino tools come together and give great results when creating intricate 2D drawings. For more tips and tutorials, subscribe to our YouTube channel.

Rhino for Architects Course
Give your architectural skillset a major boost with the Rhino for Architects Course. Get over 60 hours of focused training tailored specifically for architects. Master commands and techniques to model, render, and animate architectural visualizations at the highest level. Click below for more information and watch your designs come alive!

![Rhino Grasshopper - Create Stairs from CAD drawing [ONE CLICK]](/images/blog/featured/variants/stairs-from-cad--related-card.webp?cb=seo-meta-20260227-164423)