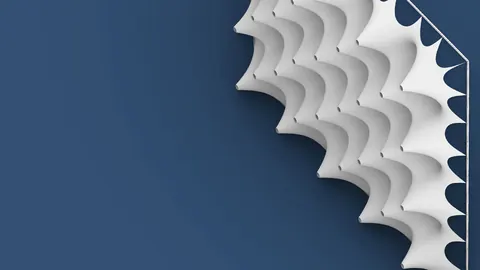
Hexagonal modular facades are becoming increasingly popular in modern architecture. The hexagonal pattern creates a unique and intricate facade that stands out. In this tutorial, we will use Grasshopper, a visual programming plugin for Rhino, to create a parametric hexagonal modular facade.
Overview
The hexagonal modular facade we will create is inspired by UN Studio's Project Lane 189 in Shanghai. The facade consists of modular hexagonal panels positioned based on openings in the facade surface.
We will go through the following steps:
- Model the hexagonal modular panels
- Create the facade surface with openings
- Generate a hexagonal grid to fit the facade surface
- Distribute and position panels based on distance to openings
- Split the facade surface and trim curves
- Add the panels to the facade surface
Using Grasshopper's algorithms and data trees, we can distribute and orient the panels parametrically, creating an intricate yet orderly hexagonal pattern.
Modeling Hexagonal Panels
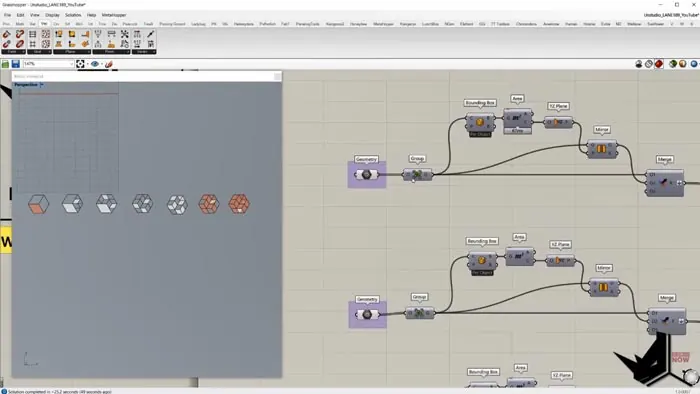
First, we will model 7 different hexagonal panel variants in Rhino. The panels range from a solid panel to a panel with circular perforations.
We import the panel geometries into Grasshopper using the Component geometry node. Then we mirror each panel to double the variations.
The original and mirrored panels are merged and placed into a data tree, with each panel variant in its own branch. This gives us control of each panel type separately later.
Creating the Facade Surface
In Rhino, we model a flat rectangular surface for the facade with rectangular openings. This surface is unrolled and imported into Grasshopper.
Generating the Hexagonal Grid
Next, we need to generate a hexagonal grid that fits the facade surface. Using the width of the surface, we can calculate the hexagon size that tiles the surface appropriately.
The grid is generated with no gaps so that the entire facade surface is covered.
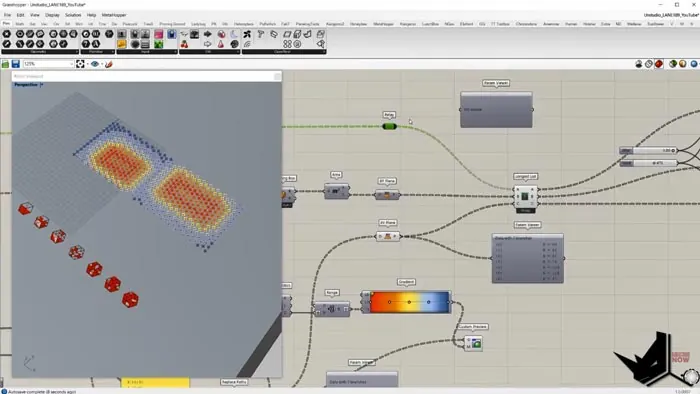
Distributing Panels Based on Openings
Now we want to distribute the hexagonal panels based on their proximity to the openings. Panels closest to openings will be the solid variant, while panels further away will be more perforated.
To do this, we:
- Sort hexagons into branches by distance to openings
- Map panel variants to the branches
- Apply small randomizations within each branch
This gives us control over the panel distribution while still adding variability.
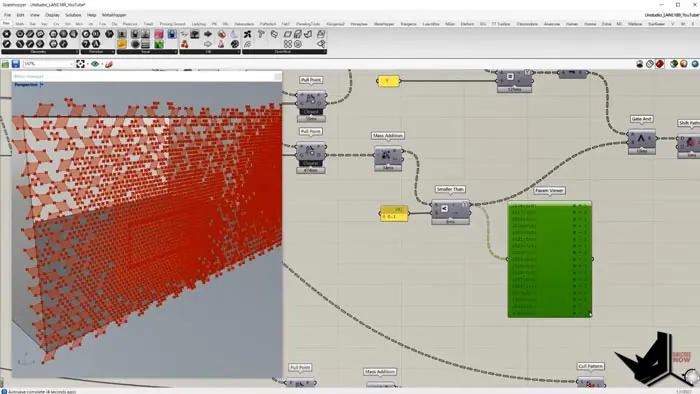
Trimming the Surface
The last step is splitting the surface and trimming curves to fit the hexagonal grid.
We extract the naked edges of the surface openings and then use them to:
- Split the surface into patches
- Trim inner curves
The split surface and trimmed curves now have the outlines of the hexagonal grid.
Adding Panels to the Surface
Finally, we orient the hexagonal panels onto the grid points of the trimmed surface. The panels fit perfectly within the hexagonal cells.
And we have a completed hexagonal modular facade! The pattern has order based on the openings while still maintaining variability from the panel randomizations.
Summary of Hexagonal Modular Facade
Using the algorithms and data trees in Grasshopper, we were able to:
- Distribute hexagonal panels based on distance to openings
- Split surface and trim curves to fit the grid
- Orient panels onto the surface
This creates an intricate hexagonal facade with both order and randomness.
The same principles can be applied to other facade patterns or design problems that require ordered variability. Grasshopper gives us the power to easily generate and iterate on these complex generative systems.

Grasshopper Complete Course
Give your architectural skills a boost with the Grasshopper Complete Course. Get over 50 hours of comprehensive Grasshopper training tailored for architects. Learn to generate and iterate designs faster. Click below for more information and streamline your workflows!