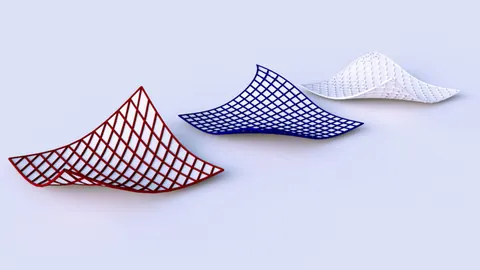
Learning how to model 3D icons in Rhino can be an invaluable skill for designers and 3D artists. In this comprehensive guide, we'll walk you through the entire process of modeling icons in Rhino, from 2D to 3D. Whether you're looking to create icons for your website, 3D print custom designs, or take your Rhino skills to the next level, follow along to master this essential technique.
Tracing 2D Shapes and Creating Curves
The first step to modeling 3D icons is to trace the 2D image and create curves. Start by reducing the transparency on the image so it's easier to see. Then use Rhino's line and curve tools to carefully trace the outline, trying to match the curves as closely as possible.
For more intricate icons like the Pinterest icon, take your time and use reference lines to nail the curves. The round rectangle tool can also be useful for shapes like the Instagram icon. Don't worry about perfection at this stage—the goal is to capture the overall shape with curves.
Once the shape is traced, use Rhino's curve tools like CurveBoolean and CurveInterpolatePoints to refine the curves and get the lines just right. Having clean curves makes the 3D modeling process much easier.
Creating Surfaces from Curves
With the 2D curves in place, we can now easily create surfaces. Select all the curve loops and use the PlanarSrf command to generate surfaces from the closed curves.
Rotate the surfaces 90 degrees so they're flat on the ground plane. Then use the ExtrudeCrv command to give the surface depth and create 3D solids. Make sure to extrude both the front and back of the surfaces.
Just like that, our 2D icons are now 3D models ready for rendering! The same process works for text too—type any word, convert it into curves or surfaces, and extrude it into 3D.
Tips for Modeling 3D Icons in Rhino
Here are some tips to help you master modeling 3D icons in Rhino:
- Use image references on a low transparency layer to trace shapes accurately
- Take time to refine curves before making surfaces - cleaner curves = better results
- Rotate surfaces upright before extruding for proper depth
- Play around with different fonts and curve adjustments when modeling text
- Adjust extrusion depth to give icons the desired thickness
Rendering Your 3D Icons
Once your icons are modeled, it's time to render them and make them look realistic. Apply physically-based textures and materials like plastics and metals to enhance realism. Dial in environment lighting and background images to match your scene.
For rendering, tools like Rhino's real-time renderer work well. V-Ray and KeyShot are also great choices that integrate with Rhino. Don't forget to showcase your rendered icons - they make awesome portfolio pieces!
Uses for 3D Printed Icons
A huge benefit of modeling icons in Rhino is the ability to 3D print the results. Some creative ways to use 3D-printed icons include:
- Custom medals, coins, and awards
- Badges, pins, and jewelry pieces
- Souvenirs, keychains, and collectible figures
- Pieces for board games and RPGs
- Decorative accents for products
3D-printed icons open up lots of possibilities for personalization and unique branded merchandise.
Conclusion
Learning how to transform 2D images into 3D icons gives you a valuable skill that can be applied to logos, text, seals, badges, and more. Mastering this technique in Rhino involves tracing curves, creating surfaces, extruding into solids, and applying rendering. With a bit of practice, you'll be able to model amazing 3D icons from any 2D source material.

Rhino for Architects Course
Give your architectural skillset a major boost with the Rhino for Architects Course. Get over 60 hours of focused training tailored specifically for architects. Master commands and techniques to model, render, and animate architectural visualizations at the highest level. Click below for more information and watch your designs come alive!