Creating your own custom furniture can be a rewarding DIY project. With the power of 3D modeling software like Rhino, you can design and model your own bookshelf to your exact specifications. In this step-by-step tutorial, we will be modeling a stylish sloped bookshelf unit from start to finish using Rhino's powerful tools.
Modeling a Bookshelf: Overview
Modeling this modern-looking bookshelf unit requires some basic steps:
- Starting with a sphere to create the initial rounded shelf shape
- Using a cutting plane to slice the sphere into a curved sloped shelf
- Adding supports and dividers based on measurements
- Using Boolean tools to cut out the shelves
- Finishing touches like edge capping and deleting unnecessary faces
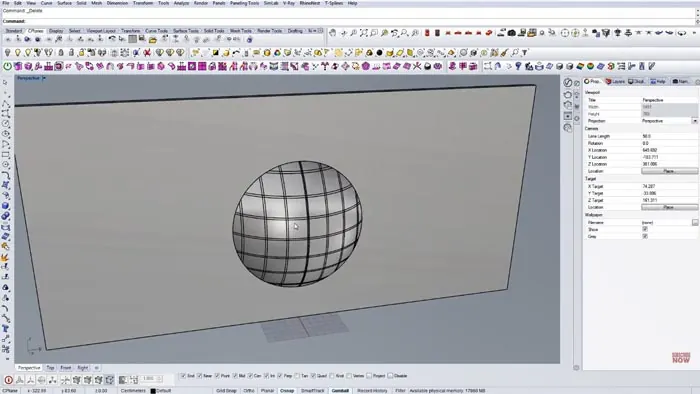
Initial Shelf Shape with Sphere
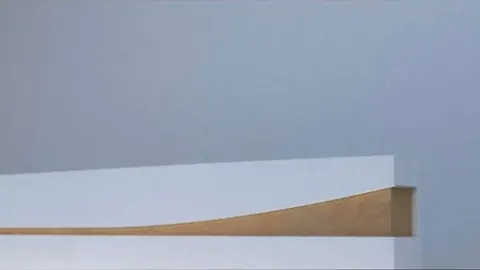
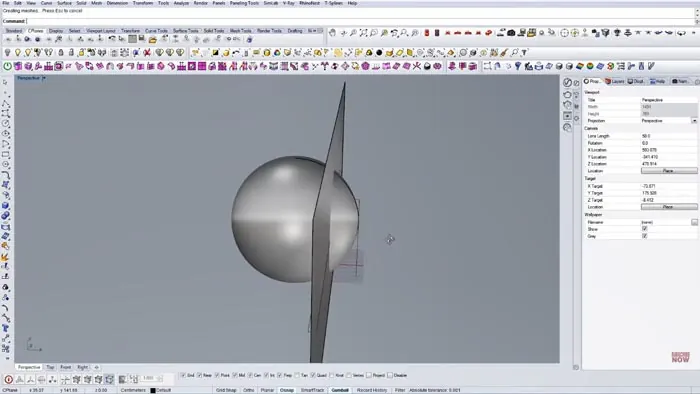
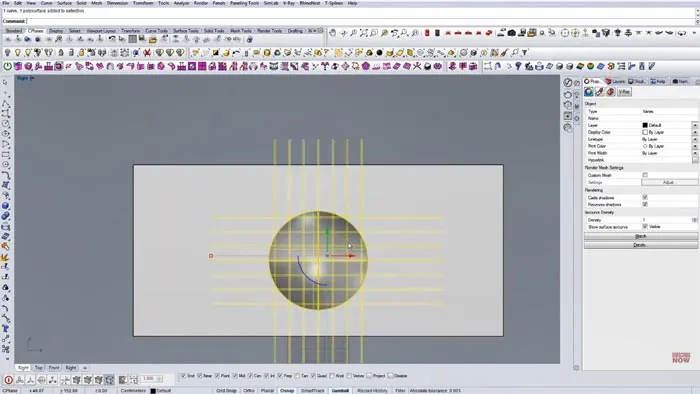
We start by creating a sphere that will form the basis of the sloped curved shelf shape.
Draw a sphere and adjust the center point and radius until you have the approximate shelf width needed. For this design, a radius of around 100 units works well. Next, draw a vertical line that will act as the cutting plane to slice the sphere. Place it approximately in the center of the sphere.
You can measure and position the depth of the cut plane by creating a guideline for the shelf depth. For this design, around 40 cm looks good.
Slicing the Sphere with Cutting Plane
Now we will use the cutting plane line to slice the sphere in half and create the initial sloped shelf.
Extrude the vertical line into a surface to cut with. Make it tall enough to fully cut through the sphere. After that, use the Boolean Split tool to cut the sphere along the plane. Delete the extra cutting surface, as we just need the sliced sphere now.
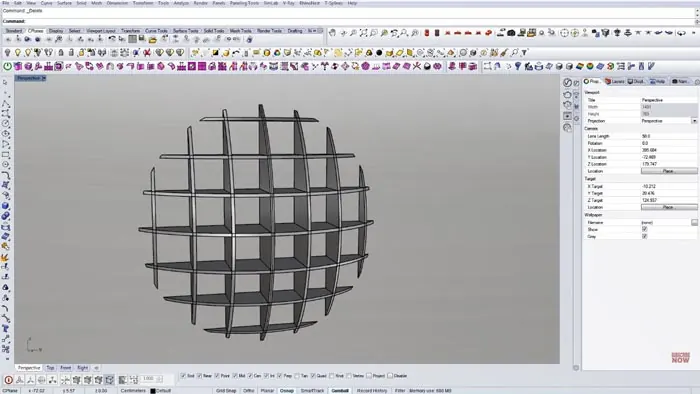
Adding Supports and Shelves
With the basic shape done, we can now add the vertical supports and additional shelves.
Draw a small vertical rectangle in the center to use as a support. Make it the thickness you want the supports to be. For this, 2 cm is ideal.
Copy this vertically to start forming supports. Space them out based on your desired measurements. For this design, supports around 25 cm apart look good.
Copy the supports horizontally using the Rotate command to create the criss-cross support structure.
Use the Divide command to ensure the shelves are evenly spaced. Extrude all of the lines into surfaces to create the supports.
Cutting Out the Shelves
Now that the frame is complete, we need to use it to cut shelves into the sphere. Switch to Perspective view for easier viewing. Extrude the support lines into thick 3D shapes. This will cut the sphere. Next, use Boolean Split again to cut the sphere with the support frames. Delete any unneeded surfaces like the top and bottom of the frame. Finally, select all the support surfaces and delete them to leave just the finished shelves.
Finishing Touches
Just a couple of quick finishing steps to complete the bookshelf model.
- Select all the shelf edges and use the Cap command to add thickness.
- Delete any interior shelf faces you don't need.
- Render the model to visualize the final product.
And that's it! Following these modeling steps will allow you to create your own stylish bookshelf unit with Rhino's powerful 3D tools. Let us know if you used these tips to model your own custom furniture design!

Rhino for Architects Course
Give your architectural skillset a major boost with the Rhino for Architects Course. Get over 60 hours of focused training tailored specifically for architects. Master commands and techniques to model, render, and animate architectural visualizations at the highest level. Click below for more information and watch your designs come alive!