In this tutorial, we're going to learn how to model an armchair in Rhino using a bit of Grasshopper to create the bubbled effect on the chair's surface. Modeling a bubble armchair is a fun way to create a unique piece of furniture for your 3D interior scenes. Let's dive in!
Overview
The first step in modeling this bubble armchair is to create a base surface in Rhino to build off of. Then we'll use Grasshopper to quickly generate spheres that will act as our bubbles on the chair's surface. After that, it's just a matter of creating the armchair's outer shell and giving it some nice smoothed edges.
Step-by-Step Process
Here is the step-by-step process to model the bubble armchair in Rhino:
Create Base Surface
First, create a simple surface in Rhino that will act as the base. This will give us something to build the rest of the armchair on top of.

Generate Points
Next, we need to generate points on the surface that will become the centers of our bubbles. To do this:
- Divide the length into segments
- Extend lines from the divisions to intersect the surface and create points
- Do this vertically as well, dividing the width into segments
- Delete any unnecessary points, like in the center area that will be flat
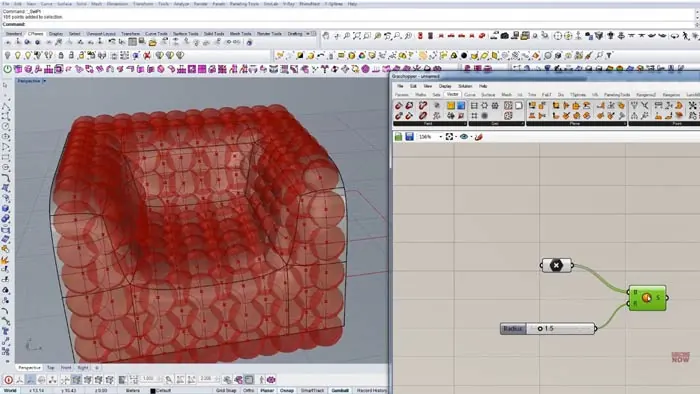
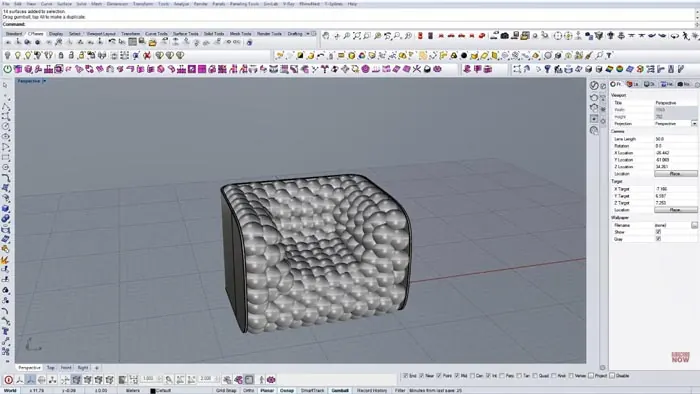
Create Bubbles in Grasshopper
Now we can jump over to Grasshopper to quickly create our bubbles. Bring the surface into Grasshopper and feed the points into a Grasshopper Sphere component. Next, connect the sphere radius - adjust to taste. Bake the spheres in Rhino.
Grasshopper makes generating the bubbles easy - just a couple of steps!
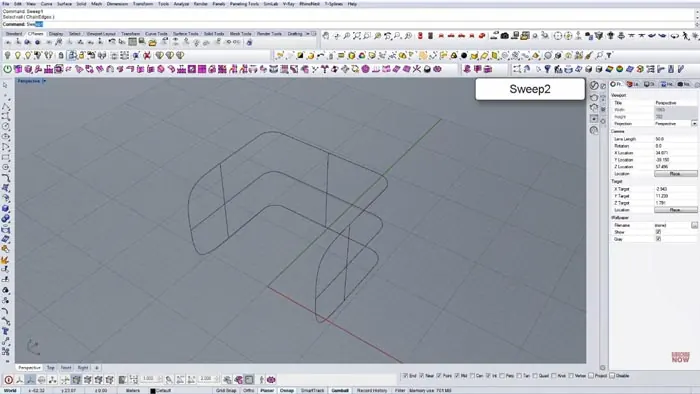
Build Outer Shell
With our bubbles in place, we can build the armchair's outer shell. To do this, create the base curves for the overall shape. Use commands like Dupborder and Sweep to build it up. Once we build it up, we need to refine shapes, fillet edges, etc.
Tweak as needed to get the exact shape you want.
Final Touches
Finally, add any last touches:
- Adjust bubble positions if needed
- Create proper surface thickness
- Render it!
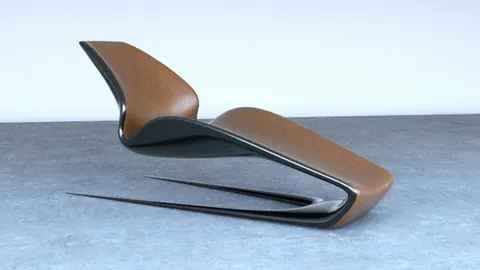
Final Results
And we're done! Following these steps will give you a uniquely bubbled armchair modeled in Rhino. Feel free to tweak the process to get exactly the look you're going for. Modeling a bubble armchair is a great way to expand your Rhino and Grasshopper skills!

Rhino for Architects Course
Give your architectural skillset a major boost with the Rhino for Architects Course. Get over 60 hours of focused training tailored specifically for architects. Master commands and techniques to model, render, and animate architectural visualizations at the highest level. Click below for more information and watch your designs come alive!