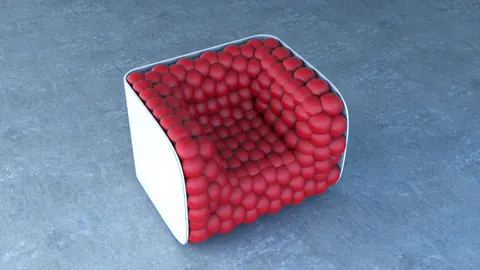
Modeling complex organic shapes like canopies in 3D modeling software can be challenging. In this tutorial, we will show you the process of easily modeling a canopy in Rhino using T-Splines.
Modeling Canopy: Overview
Modeling canopy in Rhino allows you to create beautiful curved structures like canopies, awnings, tents and more for your architectural visualization projects. The key is using T-Splines in Rhino which makes it easy to create smooth curved surfaces.
We will show you step-by-step how to:
- Import a reference image into Rhino
- Set up a T-Spline plane with symmetry
- Manipulate the vertices to match the canopy shape
- Convert the T-Spline to a NURBS surface
- Extrude and add thickness
- Add edges and patch openings
- Create supporting structures
With this technique, you'll be able to model canopy structures of any shape quickly and easily in Rhino.
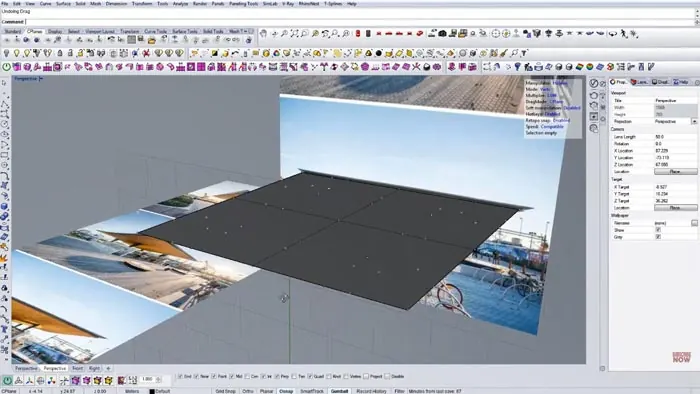
Step 1 - Import Reference Image
Start by importing the image of the canopy you want to model into Rhino. This will be your reference.
Drag and drop the image file into the Rhino viewport. Place the image in the top view for reference.

Step 2 - Set up T-Spline Plane
Next, we need to set up a T-Spline plane which will form the basic surface of the canopy.
Go to the T-Splines menu and select the Plane tool. Draw a rectangle by picking two points for X and Y.
Position the T-Spline plane over the imported canopy image.
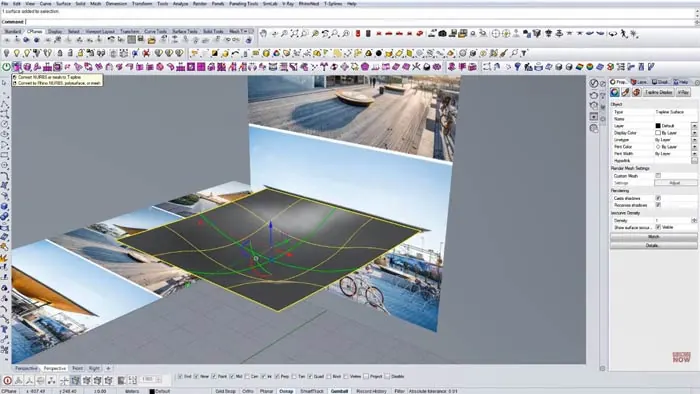
Step 3 - Add Symmetry
Since the canopy has symmetrical sides, we need to add symmetry constraints.
In the T-Splines menu, turn on Symmetry. Add three axial symmetry lines - one vertically and two horizontally.
This will mirror any changes from one side to the other side automatically.
Step 4 - Manipulate Vertices
Now we can start shaping the T-Spline by moving the vertices. Switch to wireframe mode to see all vertices.
Slowly move the vertices to match the shape of the canopy in the reference image. The T-Spline surface will smoothly update.
Refine as needed to get the exact canopy curve you want.
Step 5 - Convert to NURBS
Once the shape is finalized, convert the T-Spline to a NURBS surface.
Select the T-Spline and click Convert to Rhino NURBS. Now you can work with it like any other NURBS surface in Rhino.
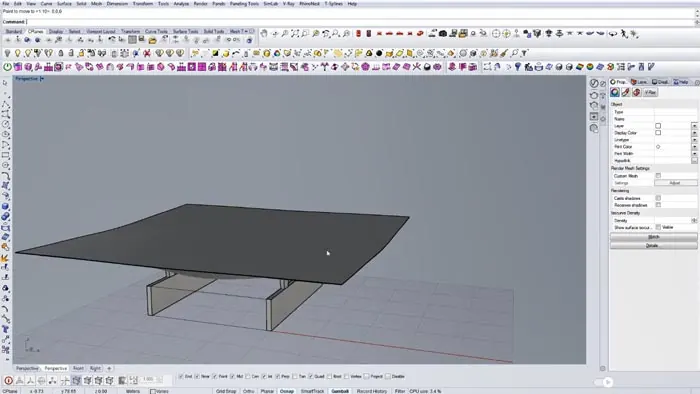
Step 6 - Add Thickness
To give the canopy some thickness, simply extrude the surface upwards a small amount.
Next, duplicate the border curves to create an edge. Use the Offset Curve On Surface command to create the bottom surface.
Step 7 - Patch Openings
We need to seal the bottom and edges to complete the canopy surface.
First, cap the bottom by selecting the border curves and using the Patch command.
For the edges, copy and scale the patch surface to extend it upwards. Then use the Sweep2 command to join the edges.
Step 8 - Add Support Structures
Finally, add supporting pillars and beams around the canopy using simple box modeling.
Copy and array cylinders to make the pillars. Model a beam and use Sweep2 to create the canopy rim.
Conclusion
And that's it! As you can see, using T-Splines makes modeling complex canopy structures much easier in Rhino.
The smooth modeling and symmetry constraints help quickly shape intricate organic canopy curves. By converting to NURBS, you can add details like thickness, edges, and supports.
So next time you need to model a canopy, tent, or other smooth structure, be sure to take advantage of T-Splines in Rhino for easy modeling!

Rhino for Architects Course
Give your architectural skillset a major boost with the Rhino for Architects Course. Get over 60 hours of focused training tailored specifically for architects. Master commands and techniques to model, render, and animate architectural visualizations at the highest level. Click below for more information and watch your designs come alive!