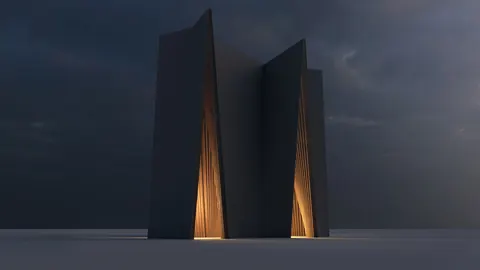
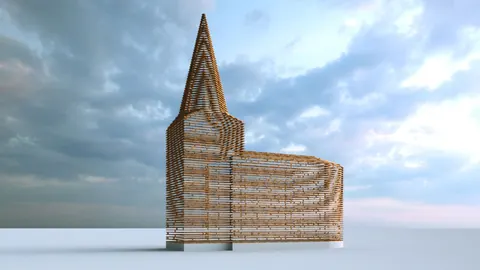
Modeling architecture in 3D can be a fun and rewarding way to bring your designs to life. In this tutorial, we'll look at how to go about modeling church in Rhino step-by-step.
Overview of the Modeling Church Process
When modeling a church in Rhino, we'll take the following steps:
- Import reference image
- Create initial guideline splines
- Build basic surfaces using T-splines
- Add thickness and edges
- Finalize the model
With some patience and practice, you can use these techniques to model a variety of architectural forms in Rhino. Let's dive in!
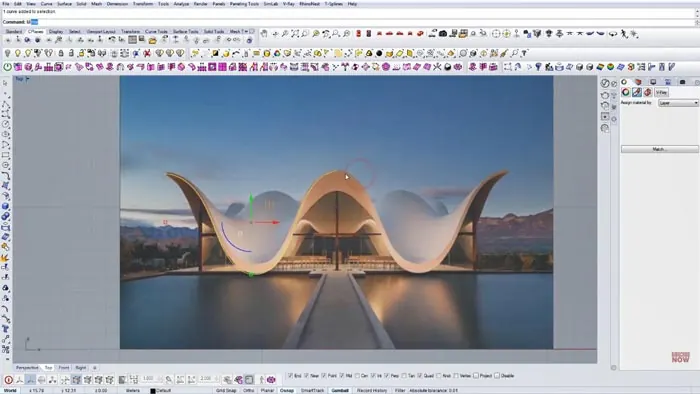
Step 1: Import the Reference Image
First, we'll import our reference image into Rhino. This will give us an image to model from.
Once imported, we can split and crop the image to isolate just the area we want to model. This makes it easier to focus on one section at a time.
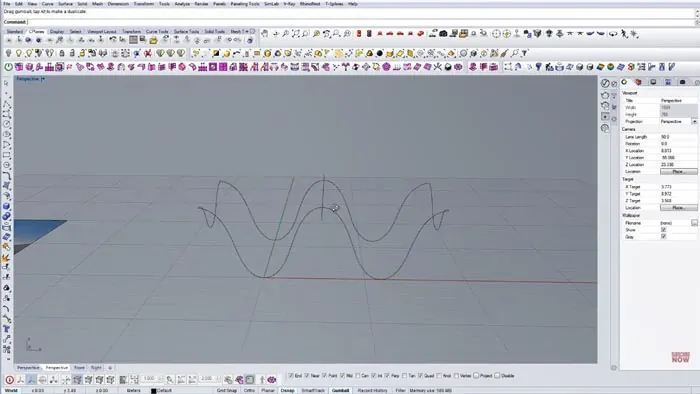
Step 2: Create Guideline Splines
Next, we'll draw some initial splines over the reference image. These will act as guidelines that we can snap and model to.
We only need to draw splines on one side since the church is symmetrical. We can then mirror the splines to the other side later on.
It helps to focus on the major lines and shapes first. We can refine things as we model.
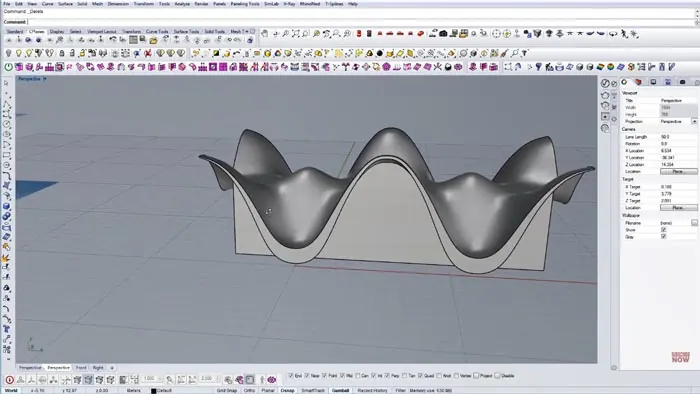
Step 3: Build Surfaces with T-Splines
Once we have the guideline splines, we can start to build out the main surfaces using T-splines.
T-splines give us a flexible modeling workflow. We can push and pull vertices to match the shapes from our reference.
After matching one side, we can mirror it to complete the main surfaces.
Step 4: Add Thickness and Edges
With the surfaces in place, we can add some thickness to give them depth. The Thicken command makes this easy to do uniformly.
To create the crisp edges, we'll insert new edges close to the surface boundaries. This will maintain smoothness while adding edge loops.
We can adjust the edges to resemble the reference photo.
Step 5: Finalize the Church Model
The last step is adding any final details and finishing touches. We can tweak the model to match the reference closely.
Once finalized, we can render the model to showcase the design. Some simple materials and lighting bring everything together.
And that covers the overall workflow for modeling a church in Rhino! With practice, these techniques can be adapted for modeling all kinds of buildings and architecture.
Key Takeaways for Modeling Church in Rhino
- Use reference images to model from
- Build with splines and T-splines
- Add thickness and edges for realism
- Focus on major shapes first
- Refine and finalize details
Modeling architecture in 3D takes time and practice. But with the right foundations, Rhino provides all the tools you need to bring your designs to life.

Rhino for Architects Course
Give your architectural skillset a major boost with the Rhino for Architects Course. Get over 60 hours of focused training tailored specifically for architects. Master commands and techniques to model, render, and animate architectural visualizations at the highest level. Click below for more information and watch your designs come alive!