Rhino is a powerful NURBS modeling tool that is commonly used for conceptual design, modeling organic shapes, and freeform surfaces. One of the key features of Rhino is its ability to create smooth filleted shapes and surfaces. In this tutorial, we will walk through the process of modeling a complex building composed of filleted shapes in Rhino step-by-step.
Overview of the Building Design
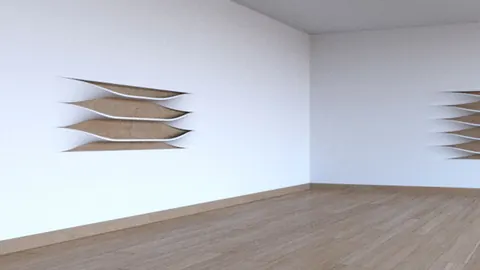
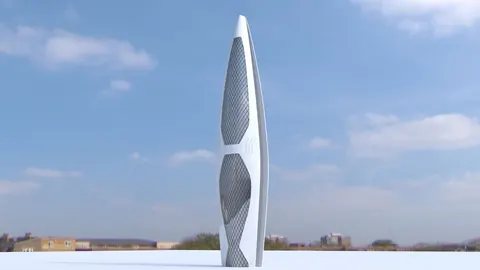
The building we will model is a conceptual design by architect Roman Vlasov. It consists of a series of rotating modules that vary in size and have smooth filleted edges. The basic steps we will follow are:
- Model one module as a reference
- Duplicate and rotate copies to form the overall shape
- Convert modules into surfaces
- Create walls between the modules
Modeling the First Module
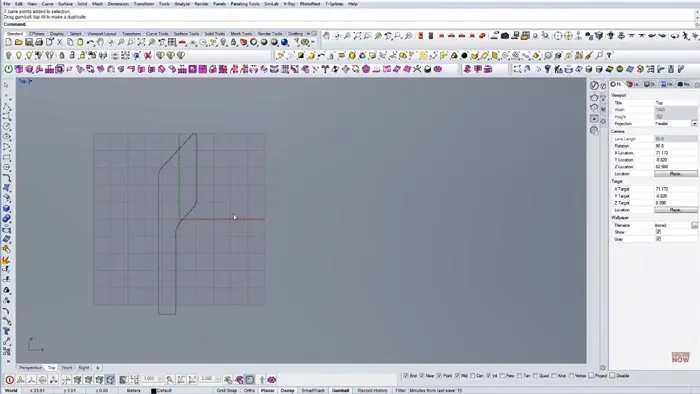
In modeling filleted shapes, the first step is to draw the base shape for a single module. This will serve as our reference that we can modify later on.
To begin, roughly sketch the shape based on the reference image. Be sure to capture the key angles and proportions. Don't worry about perfection at this stage.
Next, add lines to lock in the main angles. For example, draw a second line at the same angle to lock in that edge angle.
Add a few more lines to complete the overall shape, adjusting the proportions as needed.
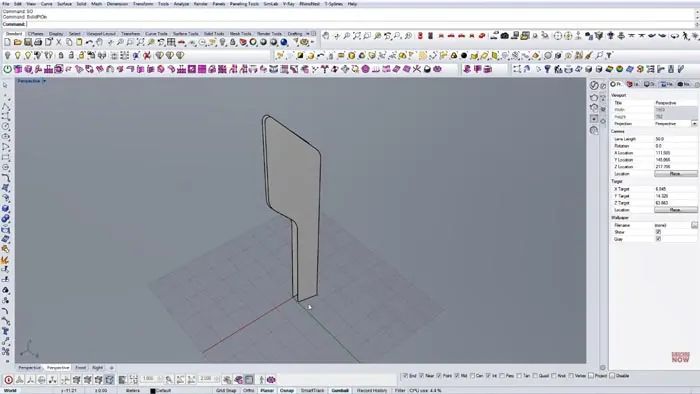
Adding Fillets to the Module
Once we have the base shape, we can add fillets to round the corners. The Fillet command in Rhino allows you to specify a radius to create rounded edges.
Start with a small fillet radius and increase it until you achieve the desired smoothness. Go around each corner and test different radii to find the ideal sizes.
For this module, we settled on fillet radii of 7 units on the main corners and 1.5 units on the top edge.
Creating Additional Module Variations
With our first module complete, we can now easily create variations by duplicating it and scaling or rotating it to new dimensions.
Make copies of the original module and adjust the proportions and angles to match the other sizes seen in the reference image.
Create 4-5 module variations to provide flexibility when assembling the final composition.
Assembling the Building Composition
With our kit of module pieces ready, we can now start arranging them into the overall building form.
Focus on getting the overall shape and flow correct at this stage. The pieces can be further refined later.
Rotate, scale, and move the pieces into place matching the reference image. Feel free to diverge from the reference as you see fit as well.
Make sure to vary the heights of some pieces to create depth and interest.
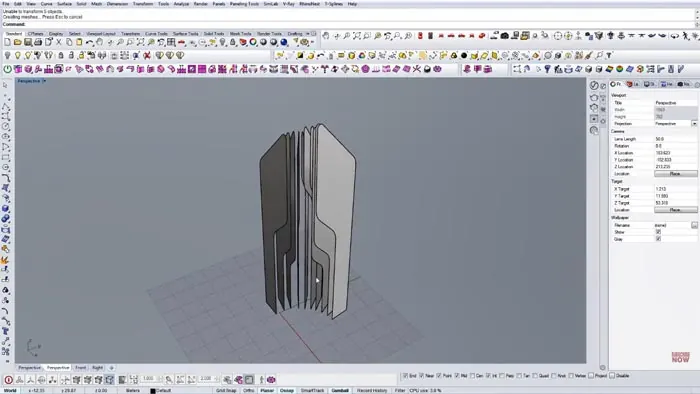
Converting Modules into Surfaces
Once the composition is blocked out, we need to convert the modules from curves into surfaces.
Select all the curve modules and use the PlanarSrf command to generate surfaces.
Turn off the original curve layers to clean up the view.
Creating Walls Between Modules
To complete the model, we need to add walls between the modules. This can be done quickly using rails and cross-sections.
First, make an offset duplicate of the outer boundary of modules. This offset curve will act as our rail.
Draw cross-section lines across the gaps between modules.
Use the Sweep command to create surfaces between the rails and cross sections.
Do this for each gap to create all the interior walls.
Finally, use the Offset Surface to give the walls some thickness.

Rendering the Final Model
With the modeling complete, let's render the design to see the finished form. The smooth fillets and curved walls create an appealing organic quality.
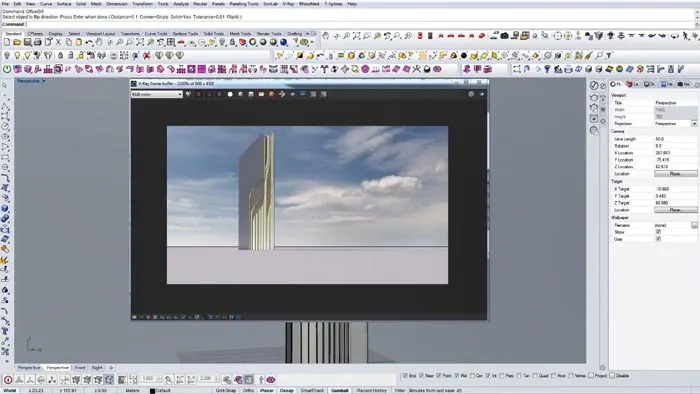
The step-by-step process covers the key techniques for efficiently modeling complex curved architecture in Rhino. Let me know in the comments if you have any questions!

Rhino for Architects Course
Give your architectural skillset a major boost with the Rhino for Architects Course. Get over 60 hours of focused training tailored specifically for architects. Master commands and techniques to model, render, and animate architectural visualizations at the highest level. Click below for more information and watch your designs come alive!