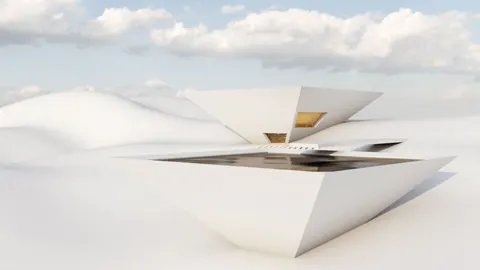
In today’s blog post, we will be talking about modeling House of the Infinite, a poject by architect Alberto Campo Baeza. This house is known for its unique design where it looks like it merges with the horizon, giving a sense of infinity. Let’s dive in and see how you can model it step by step.
Understanding the House of the Infinite
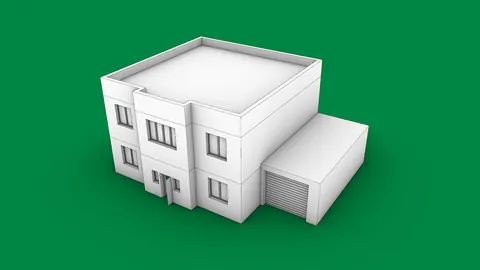
Before we start, it’s good to know a bit about the house itself. It is located in Cadiz, Spain, and is known for the way it connects with its surroundings, especially the horizon. It’s a pretty cool concept where the house seems like a part of the natural landscape.
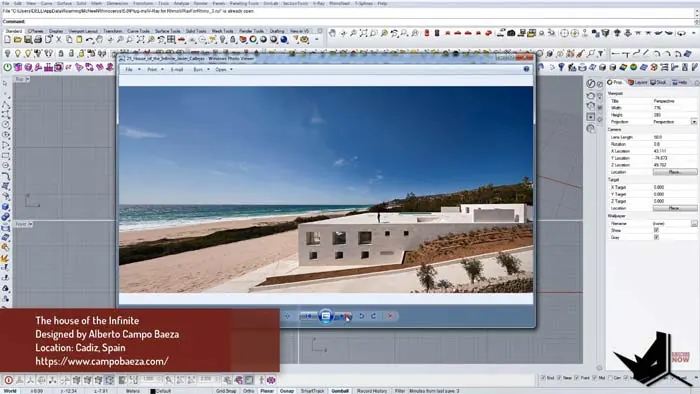
To kick things off with modeling the House of the Infinite, we first import the site plan into Rhino. This plan shows the area where the house will be built. Sometimes the plan might not fit perfectly, but with some adjustments and cuts here and there, we get it right.
Setting Up the Base and Walls
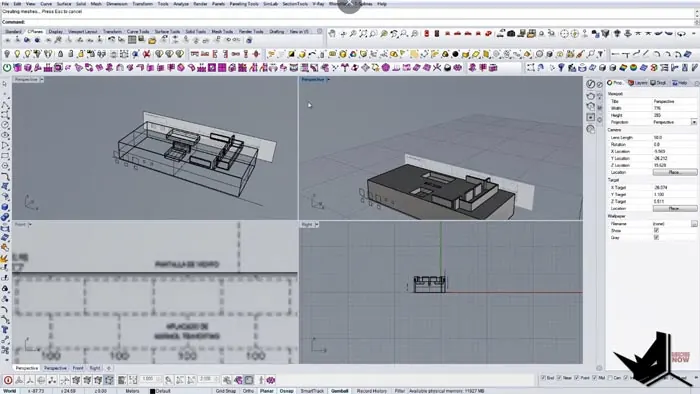
After importing the necessary plans and ensuring they match, we cut and draw reference geometry to establish the base of the house. The process involves meticulous adjustments and scaling to ensure precision in every detail. From here, we draw rectangles representing the walls, setting the foundation for the house.

Adding Details with Extrusion
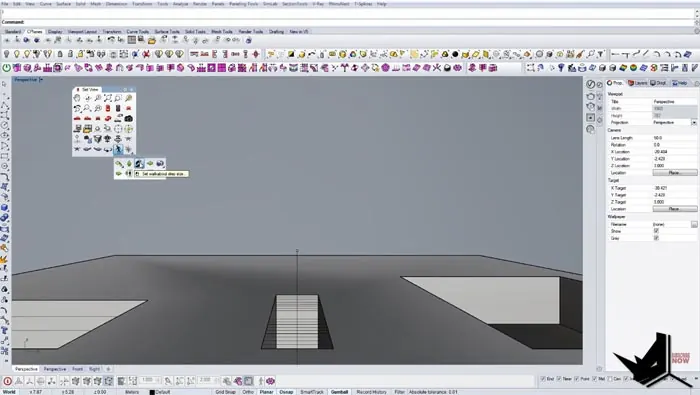
Once we have our base, it’s time to give it a 3D form. We do this through a process called extrusion where we pull parts of the design up to give it height and depth. Every element, including the intricate details of the windows and the stairs, is brought into the third dimension, giving the house depth and form. Here, the architecture starts to blend with the horizon, just as Baeza envisioned.
Fine-Tuning the Details
With the main parts of the house modeled, we focus on getting the finer details right. This step includes adding extra features like the roof terrace and making sure everything matches up correctly. It’s all about making sure the 3D model is as close to the real house as possible.
Capturing the Right Views
After getting the structure right, it's time to find the best angles to view our model. In Rhino, we set up specific spots for the camera to get the perfect shots. It might take a bit of adjusting, but creating a middle line in the geometry allows for the setting of precise camera spots, offering a straight and authentic view of our model.
Rendering the Final Model
Finally, we are ready to create the final image of our model. This last step is all about showing off all the work we’ve done. We play around with different viewpoints and adjust the settings until we get a picture that we are happy with.
Conclusion
And there we have it, a step-by-step guide to modeling House of the Infinite using Rhino. We hope you found this walkthrough helpful. Feel free to share this blog with others who might be interested, and let us know what you think in the comments below.

Rhino for Architects Course
Give your architectural skillset a major boost with the Rhino for Architects Course. Get over 60 hours of focused training tailored specifically for architects. Master commands and techniques to model, render, and animate architectural visualizations at the highest level. Click below for more information and watch your designs come alive!