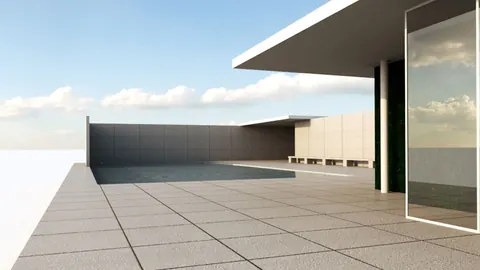
La Rotonda is one of the most iconic buildings in architecture. Designed by Andrea Palladio in the 16th century, this beautiful villa in Vicenza, Italy has inspired architects for centuries. In this tutorial, we will walk through the process of modeling La Rotonda in Rhino step-by-step.
Overview of La Rotonda
Before we dive into Rhino, let's do a quick overview of La Rotonda's design. The building has a central plan with four identical facades. At the center is a dome over a circular hall. On each side of the rotunda are temple-front porticos with pediments. The symmetry and mathematical proportions of the villa epitomize Palladio's design principles.
Now let's see how we can model this architectural gem in Rhino.
Setting Up the Model
We’ll be modeling only one part of La Rotonda and then mirroring it to complete the model. This takes advantage of the building's symmetry.
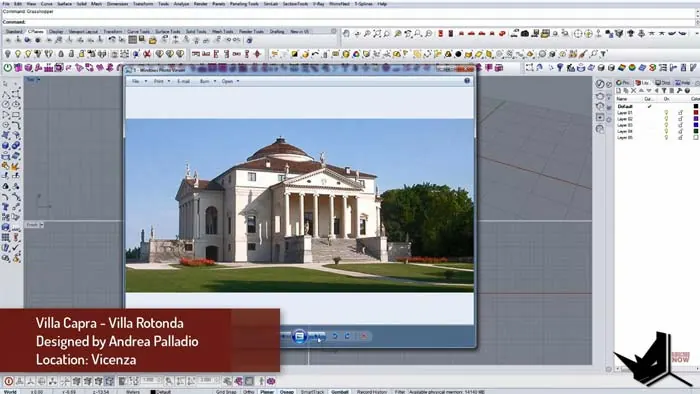
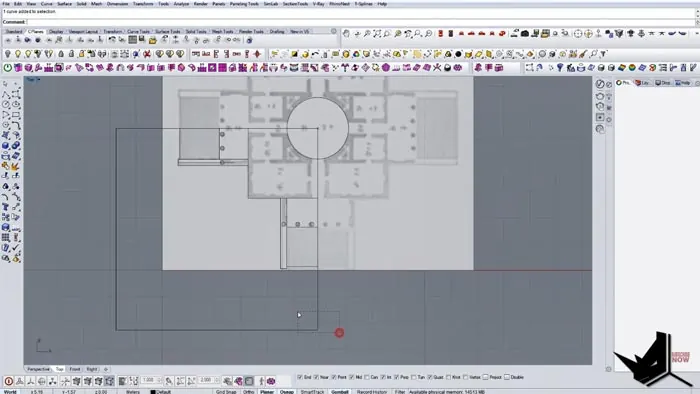
First, we import a line drawing of the villa's plan and section. After splitting it into parts, we rotate the section and position both drawings at the origin.
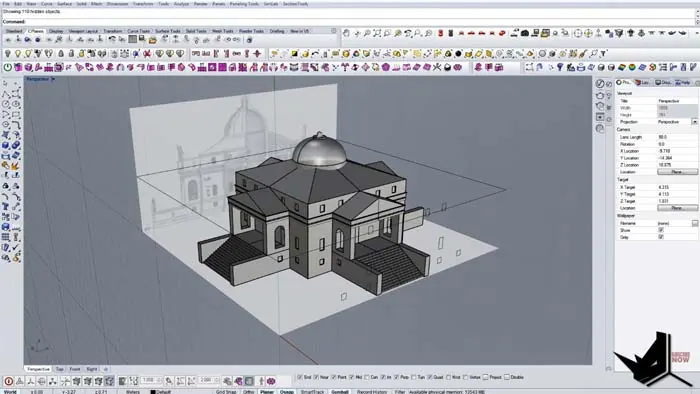
With the scaled plans as a reference, we start by modeling the circular base. Then we add the portico, stairs, and columns based on the plan.
Creating the Main Volumes
Switching to the front view, we extrude the base curve to form the main volume. The section drawing provides the heights. Next, we model the upper level, dome base, and pediment shell.
For the dome, we draw a curve to match the section shape. Using the revolve command, we get this profile to revolve around a center axis to form the dome surface
.
After modeling the main volumes, we add a simple roof. The angle is adjusted to match photos of La Rotonda.
Adding Details
With the overall masses in place, we start adding details like the stairs, windows, and decorative moldings.
The stairs are created by dividing the length and height to get individual steps. These are joined into a surface and then mirrored.
For the windows, we copy and position holes based on the plans. Using Boolean operations, these subtract from the main volumes. The result is perfectly placed window openings.
Finally, we add moldings below the pediment using offsets and sweeps. This extra detail brings life to the facade.

Completing the Model
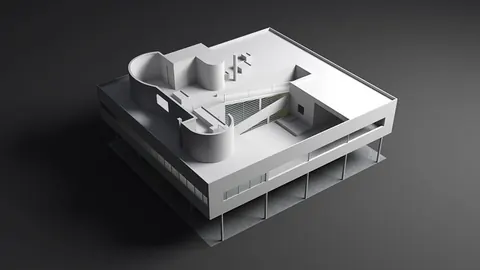
To complete the model, we mirror the facade three times to create the full villa. The final step is to render the model with materials and entourage.
And that's it! Using Rhino's powerful modeling and automation tools, we can recreate this historically significant work of architecture. The techniques covered, like referencing plans and using symmetry, are applicable to modeling many buildings.
Key Takeaways for Modeling La Rotonda in Rhino
- Take advantage of symmetry to only model one facade
- Import scaled drawings as a reference
- Build up volumes using extrusions and sweeps
- Add details like stairs, windows, and moldings
- Use Boolean operations for the window openings
- Mirror the facade to complete the model
Recreating famous works of architecture is a great way to improve your modeling skills. The logic and workflow from this La Rotonda tutorial can be applied to model other Palladian villas or classical buildings.
Have you modeled any famous buildings in Rhino? Share in the comments below!

Rhino for Architects Course
Give your architectural skillset a major boost with the Rhino for Architects Course. Get over 60 hours of focused training tailored specifically for architects. Master commands and techniques to model, render, and animate architectural visualizations at the highest level. Click below for more information and watch your designs come alive!