Modeling a lamp shade can seem daunting, but with the right tools, it's easier than you think. This tutorial will teach you how to model a perforated lamp shade in Rhino using Grasshopper. With some simple curves and commands, you'll have a customized lamp shade ready to render and print in no time.
Modeling Lamp Shade: Overview
In this tutorial, you will learn how to:
- Create base curves for the lamp shade model in Rhino
- Use Grasshopper to loft and trim the surfaces
- Split and cull surfaces to create the perforated pattern
- Join the surfaces and export the final model
The end result is a parametric model that updates when you change the curves. This allows limitless customization to the lamp shade's shape and style.
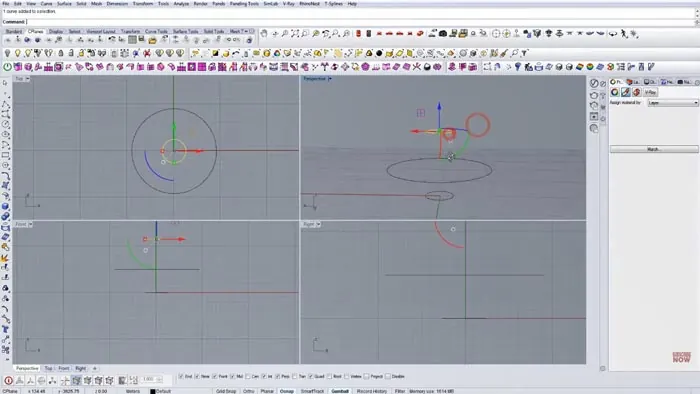
Step 1 - Model the Base Curves
First, create three simple curves in Rhino that define the top, middle, and bottom of the lamp shade. You can make them any shape, just ensure they flow together.
It's not important to match the size exactly at this point since we'll refine it later.
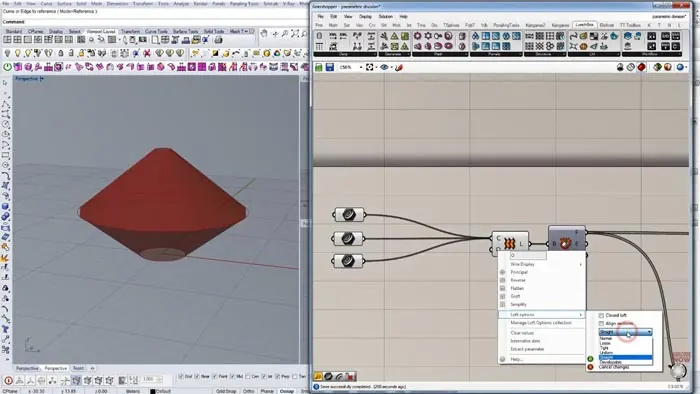
Step 2 - Loft and Trim in Grasshopper
Now it's time to bring these curves into Grasshopper to create the 3D surfaces. Import the curves into Grasshopper using the Curve component. Pass them into the Loft command to connect them to a smooth surface, and make sure to set the loft to "Straight" under options.
Deconstruct the surface using Deconstruct Brep to access the individual Faces, Edges, and Vertices.
Using Deconstruct Brep gives us more control when trimming in the next steps.
Step 3 - Split and Cull the Surfaces
To create the perforated pattern, we need to split and delete some of the surfaces:
- Separate the top and bottom surfaces using the List Item and the index.
- Reparameterize each surface individually using the Surface component. This gives us a clean slate to work from.
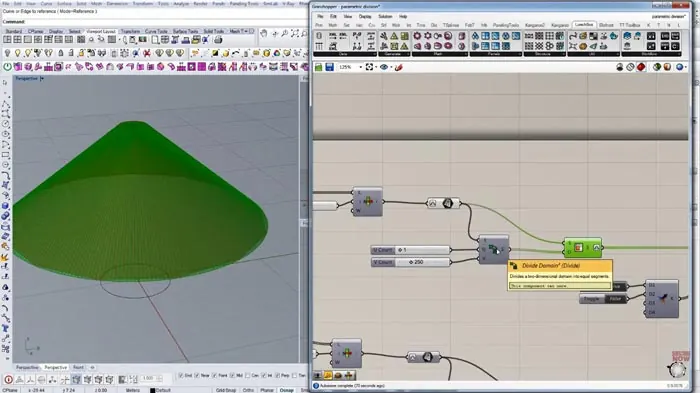
- Use Divide Domain to split the top and bottom into segments - 250 across and 1 vertically works well.
- Create a pattern of True/False using Merge and Toggles to mark every other segment False.
- Run this through Cull Pattern to delete the False segments.
Repeating this for the top and bottom results in our perforated shader pattern!
Step 4 - Join and Export the Model
Lastly, we need to join the top and bottom halves together using the Merge command.
The final step is to bake the geometry into Rhino for rendering and 3D printing.
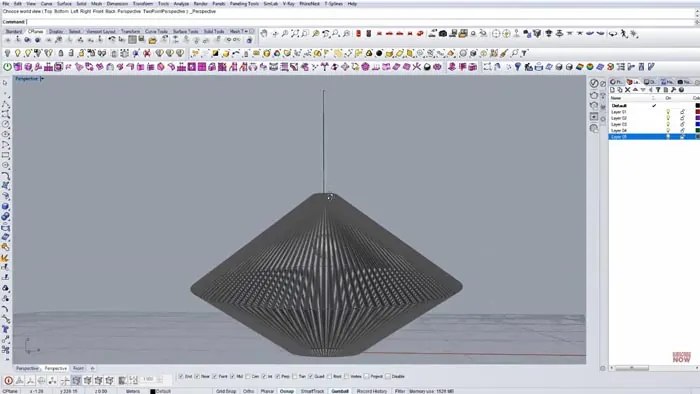
The finished model is now ready to render and print! And thanks to Grasshopper, we can go back and tweak the control curves to update the lamp shade model.
Customizing Your Lamp Shade
The real power of this technique lies in the flexibility. You can create any lampshade model imaginable by simply changing the curves and Grasshopper parameters. You can for example try modeling:
- A cylindrical lampshade with a straight middle curve.
- An oval lampshade by altering the curve widths.
- Abstract shapes and waves by reshaping the curves.
Your imagination is the limit when modeling a custom lamp shade in Rhino and Grasshopper!
So whether you need a lampshade to match your interior decor or want a unique 3D-printed gift, this tutorial teaches you the complete process. Be sure to experiment with different curves, patterns, and shapes!

Rhino for Architects Course
Give your architectural skillset a major boost with the Rhino for Architects Course. Get over 60 hours of focused training tailored specifically for architects. Master commands and techniques to model, render, and animate architectural visualizations at the highest level. Click below for more information and watch your designs come alive!