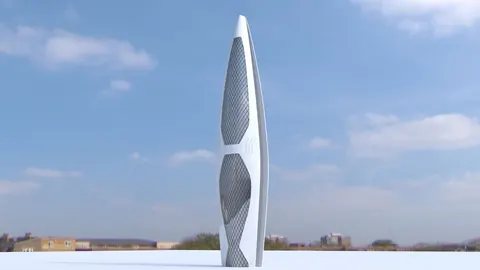
Creating an architectural model of a lobby in Rhino requires some specific modeling techniques to achieve the sharp, clean lines often found in modern interior spaces. In this tutorial, I'll walk through my process for efficiently modeling a lobby design in Rhino.
Overview
We’ll be modeling a lobby design that includes:
- Tall rectangular pillars
- Angled walls and ceilings
- A rectangular front desk
- Suspended rectangle lights
The key to efficiently modeling this modern lobby is using Rhino's curve tools - specifically the Curve Boolean command - to create sharp surface divisions.
Rectangle shapes make up the core geometry we'll be working with. By combining booleans and angled surfaces, we can model sleek architectural forms while maintaining clean topology.
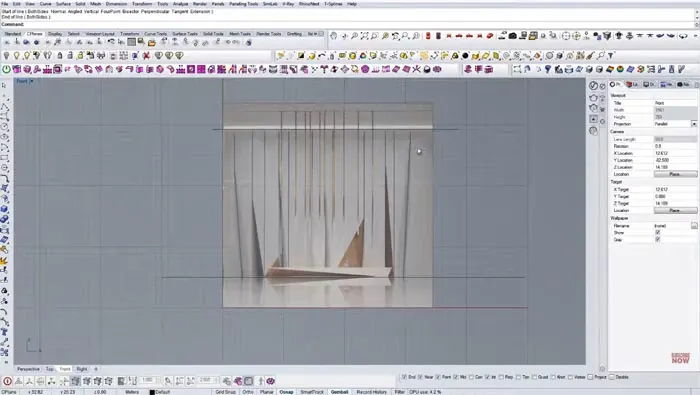
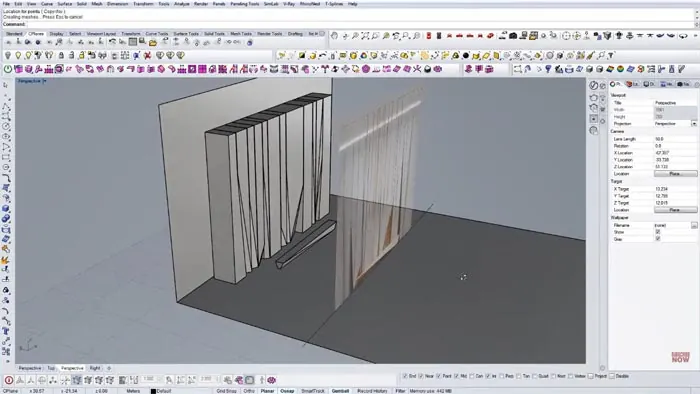
Set Up Background Image
First, import the lobby image you want to model from. Position it side view in the center and lock it as a reference.
Rotate the view to the front perspective and draw guideline curves for the floor, walls, and ceiling. This establishes the overall space.
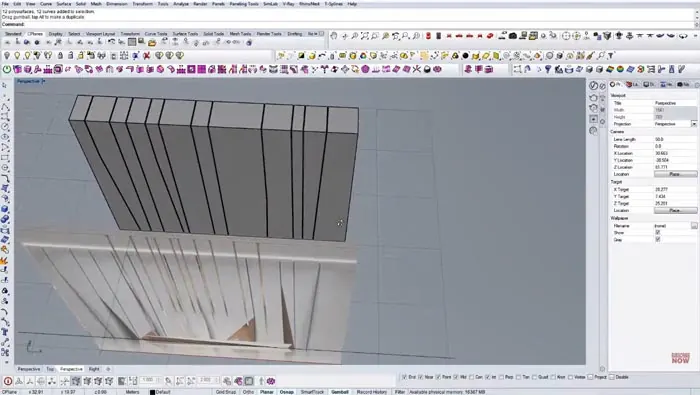
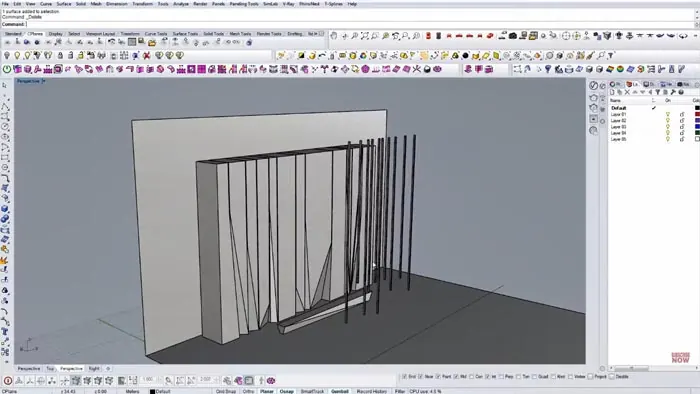
Model the Pillars
With the overall bounds set up, we can start constructing the pillars.
Use small offsets from the guidelines to create vertical surface divisions. Apply Curve Boolean to split and close off the pillar surfaces.
Delete the construction curves, extrude the resulting surfaces, and you have the core pillar geometry.
Add Angled Cuts
Now we need to model the angled cuts along the pillars and ceiling.
Reference the image to draw lines marking the angle and depth of the cuts. Use these to construct simple planar surfaces.
Apply Curve Boolean again to split the main surfaces with the angled cut planes. This creates a precise geometric look.
Repeat the process on each pillar and ceiling edge.
Construct the Reception Desk
After completing the pillar geometry, model a flat surface for the floor around the entrance.
Block in a back wall and construct the reception desk using the same techniques:
- Draw vertical guidelines
- Offset and split into surfaces
- Delete extras and extrude
Refine the shapes with control points and edge planes to match the image.
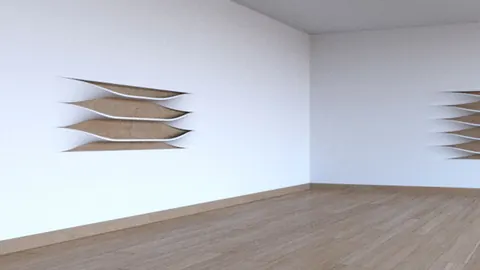
Add the Suspended Lights
The final element is the suspended rectangular lights.
In the front view, create small vertical rectangles. Copy and arrange them randomly like the reference.
Use control points to set the height and adjust the spacing.
Slice each light vertically so we can skew them like the angled architecture.
Group all the lights together as one object to make it easier to materialize later.
Final Touches
Hide the reference image and adjust anything needed to clean up the geometry.
The last step is to render the model with materials and lighting to get a finished product!
Recap
The key steps to efficiently modeling this modern lobby in Rhino are:
- Set up overall bounding geometry
- Model pillars with surface splits
- Create angled cuts using planars
- Build desk and wall structures
- Add grouped suspended lights
- Refine forms and render
Using simple rectangles and boolean operations allows an easier modeling process for the lobby design. The result is a clean interior space with sharp lines and angled geometries true to the original reference!

Rhino for Architects Course
Give your architectural skillset a major boost with the Rhino for Architects Course. Get over 60 hours of focused training tailored specifically for architects. Master commands and techniques to model, render, and animate architectural visualizations at the highest level. Click below for more information and watch your designs come alive!