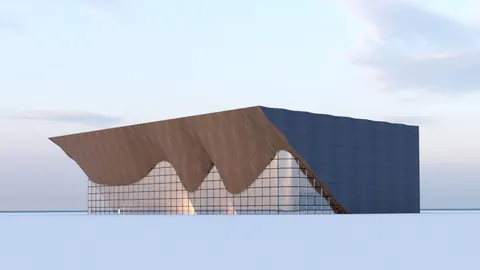
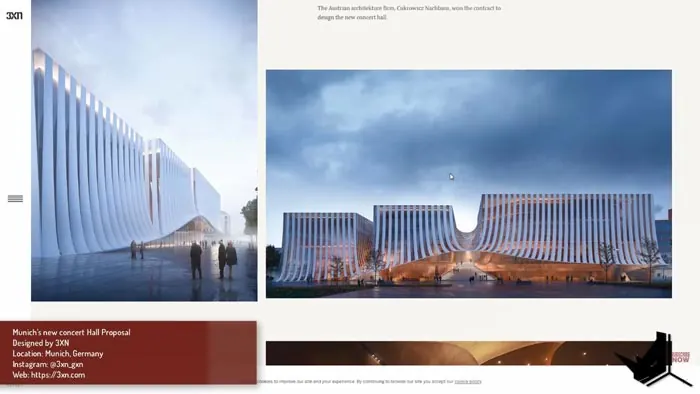
Munich's iconic new concert hall designed by 3XN Architects features an eye-catching curved geometry. In this tutorial, we will explore step-by-step the process of modeling Munich Hall in Rhino.
While we won't recreate every detail, we'll cover the key techniques you need to model similar freeform designs. Mastering these fundamental skills will give you the flexibility to model Munich Hall or any other complex building.
Overview of the Design
As background, 3XN designed Munich Hall as the new home of the Munich Philharmonic Orchestra. The sweeping curved facade evokes the flow of music.
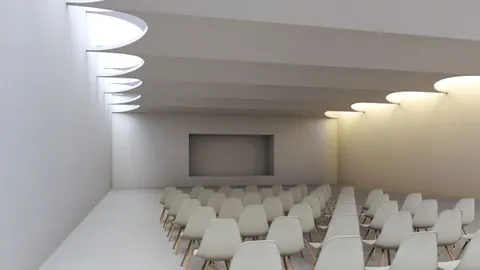
Inside, the 2,500-seat hall provides an intimate setting for enjoying performances. Oak wood interior finishes warm up the space.
Now, let's dive into Rhino and start shaping the basic exterior.
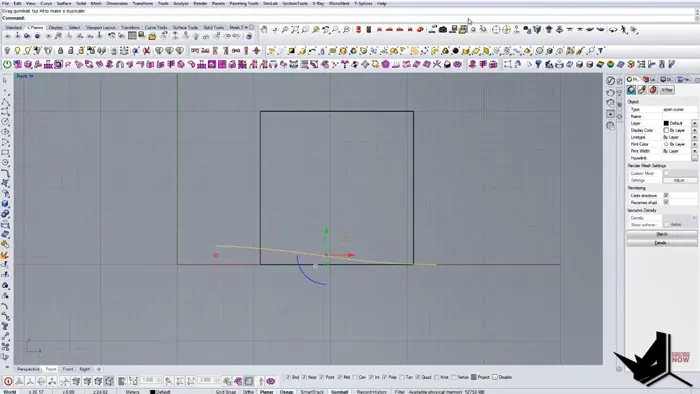
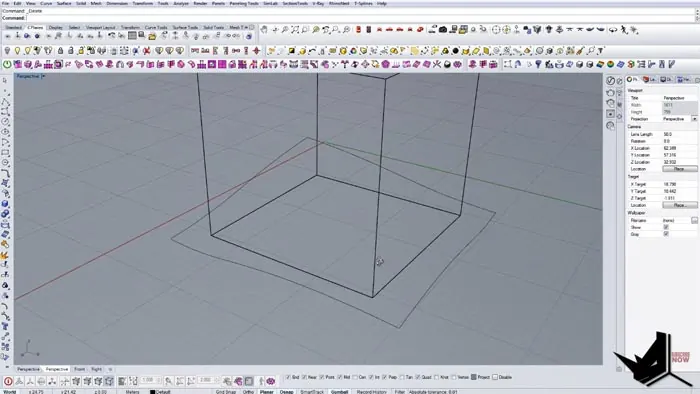
Modeling the Initial Box
First, we'll model a simple 20 x 20 x 20 box to establish our base volume.
After making the box, we'll draw one side of the curved facade.
Using Rhino's Project command, we'll sketch the first curve locked to the side plane. This ensures it aligns properly with the box. We'll refine the shape to match one side of Munich Hall's facade.
Modeling the Second Curved Edge
Next, we'll model the second curve for the other side of the facade. Again using Project, we'll sketch the second curve on the opposite side plane.
Joining the Curves into a Surface
Now we'll connect the two curves to create a single surface for one portion of the curved facade.
The Join command in Rhino lets us stitch the curves together cleanly. This gives us the first surface.
Dividing and Offsetting the Curves
To create the distinctive overlapping bands, we need to divide the surface edges and offset them.
First, we'll Duplicate the edges and space them evenly using Divide. Then we'll Offset them outward and trim off the excess.
The offset edges when lofted will give us the bands.
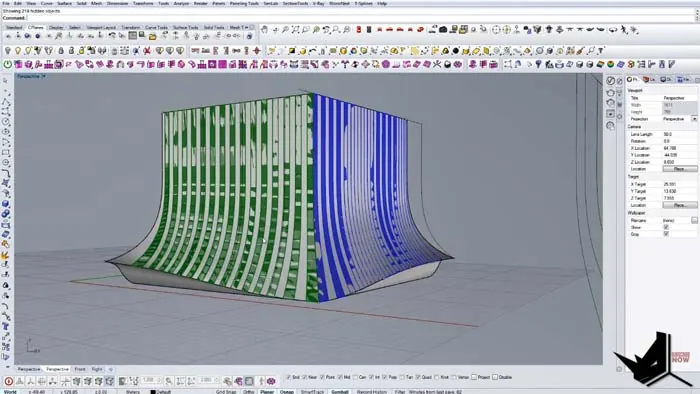
Lofting the Bands
Using a simple Grasshopper definition, we'll Loft between the offset edges to generate the surface bands.
We'll bring these new surfaces into Rhino and array them to complete the facade.
Final Steps to Complete the Model
To finish, we just need to:
- Mirror the surfaces to complete both sides
- Add in the windows
- Join everything into a polysurface
With that, we've modeled the core shape of Munich's iconic flowing facade in Rhino!
Modeling Munich Hall: Recap
To quickly recap the process:
- Model the base box
- Draw the first curve
- Draw the second curve
- Join into a surface
- Offset edges
- Loft bands
- Mirror
- Add windows
- Join into polysurface
And those are the key steps to modeling the Munich Hall design in Rhino!
Modeling More Complex Buildings
This example covers the basics for modeling Munich Hall's signature shape. With the same techniques, you can model more complex buildings in Rhino.
The most important skills are:
- Starting with simple base geometry
- Using Project and drawing locked to an axis
- Dividing and offsetting curves
- Lofting between curves
Mastering these core modeling concepts will give you the flexibility to recreate any unusual building shape.
Learn More Rhino Modeling Skills
If you want to improve your architectural modeling skills in Rhino, enroll in a class today! Our in-depth Rhino and Grasshopper courses will take your designs to the next level.
Good luck modeling your own unique designs, and have fun experimenting with Rhino's powerful tools!

Rhino for Architects Course
Give your architectural skillset a major boost with the Rhino for Architects Course. Get over 60 hours of focused training tailored specifically for architects. Master commands and techniques to model, render, and animate architectural visualizations at the highest level. Click below for more information and watch your designs come alive!