Rhino is a powerful 3D modeling tool used widely in architecture and design. With its robust modeling capabilities, Rhino allows architects and designers to bring their visions to life. In this post, we'll walk through a step-by-step tutorial for modeling the Orquideorama project in Rhino.
Overview of Modeling Orquideorama Project
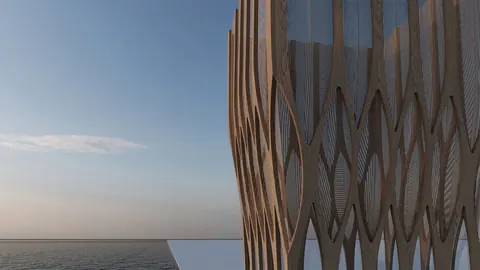
Orquideorama is a botanical garden located in Medellin, Colombia. Designed by Plan B Architects and JPRCR Architects, this project features unique hive-like structures set within a lush forest. The architectural concept draws inspiration from natural beehives, with the building components imitating this organic form.
In the Rhino tutorial, we'll model one of the hive modules and then distribute it around the site to create the full Orquideorama structure. By the end, you'll have a 3D model of this innovative architectural project.

Step 1: Set Up the Polygon Base
We'll start by setting up a six-sided polygon base since the modules have a hexagonal form. Using Rhino's Polygon command, we'll draw a hexagon by specifying six sides.
Next, we'll copy the polygon to create an adjacent cell, forming the basic footprint for the hive module.
Step 2: Build the Framework
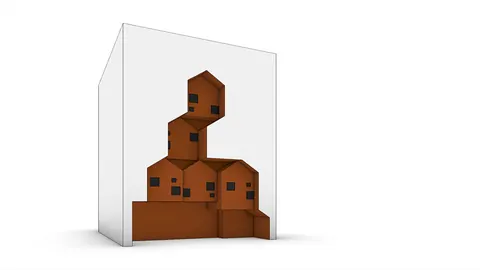
With the base established, we can start constructing the framework. We'll turn the module into a block so we can easily replicate it later on for modeling the full Orquideorama.
Using lines, we'll connect the polygon endpoints to form the edges of the structure. Then copy, rotate and mirror commands help quickly populate the grid of framework elements.

Step 3: Add Structural Details
Now we'll incorporate more of the intricate details that give the Orquideorama its depth and structural integrity. Piping, trimmed surfaces, and wooden paneling come together to create the finished hive module.
The piping adds thickness so the components are properly visible in 3D view. Planar surfaces generate the wooden panels, completing the textured exterior.

Step 4: Distribute the Modules
Once we have one hive module completed, it's simple to populate the entire site. We'll use reference points to map out the module distribution for modeling the full Orquideorama.
Copying and rotating the blocked module copies allows swift replication. Within minutes, we've gone from a single component to the full Orquideorama structure.
Step 5: Final Rendering
For the final flourish, environment settings and materials can be added to create a photorealistic rendering of the Orquideorama model. The finished Rhino model effectively captures the spirit of the innovative Orquideorama architectural design.

Key Takeaways for Modeling Orquideorama in Rhino
Through this step-by-step tutorial, we've explored some key techniques for 3D modeling in Rhino:
- Using polygons and lines to construct frameworks
- Blocking components to easily replicate objects
- Adding details like piping and textures
- Distributing replicated modules to populate models
- Applying renders for photorealistic visualizations
With these fundamental skills, you can start modeling your own architectural visions in Rhino. The Orquideorama project exemplifies the software's capabilities for organic, intricate designs.
Whether you're an architect, designer or 3D modeling enthusiast, this tutorial shows how Rhino empowers you to materialize creative concepts. With practice, you too can start modeling imaginative forms like the Orquideorama's beehive modules.

Rhino for Architects Course
Give your architectural skillset a major boost with the Rhino for Architects Course. Get over 60 hours of focused training tailored specifically for architects. Master commands and techniques to model, render, and animate architectural visualizations at the highest level. Click below for more information and watch your designs come alive!