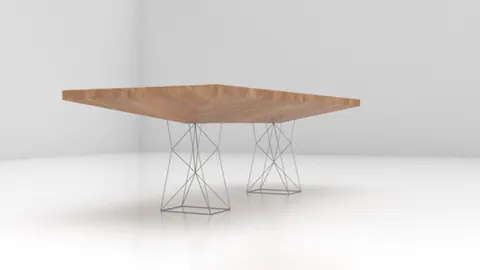
Rhino 3D is a powerful NURBS modeling tool that allows designers to create complex organic 3D models. In this post, we will walk through a step-by-step tutorial for modeling a rocket table in Rhino.
Overview of the Modeling Process
The basic steps we will follow are:
- Set up the tabletop shape and layout
- Model the rocket ships
- Add details like the engine blast and fins
- Position the rocket ships on the table
- Create the table legs and supports
- Render the final model
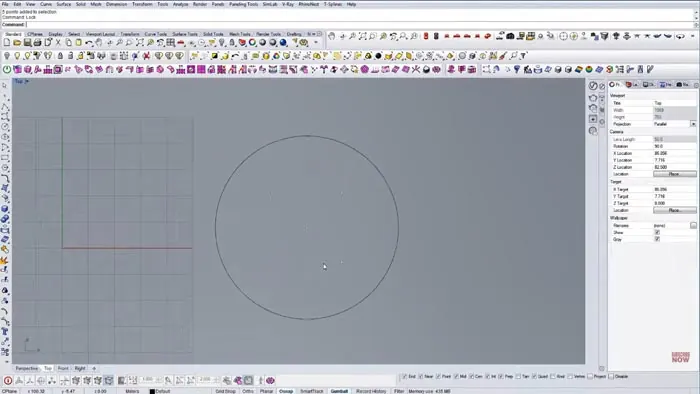
Setting Up the Table Top
We start by setting up the basic tabletop shape in the Top view in Rhino. A simple rectangle is drawn at 35 units wide, then divided into 5 sections for the rocket positions.
Aligning a construction line ensures the rockets will be spaced evenly. We mirror the outer positions to mark all 5 spots.
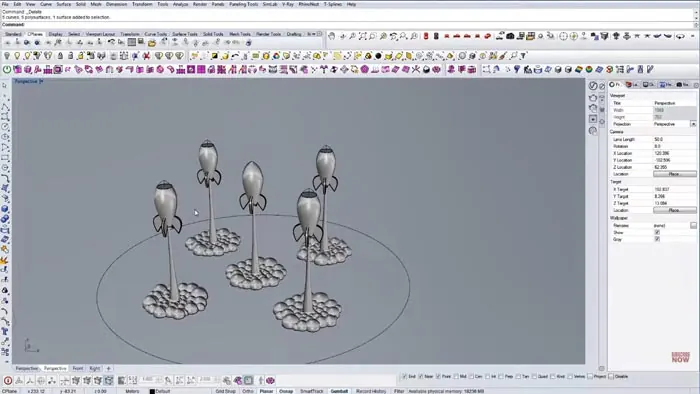
Modeling the Rocket Ship Table
With the layout set, we build one rocket ship that can be copied and rotated for the different spots. The basic shape is drawn with Planar curves, allowing easy refinement of the hull profile.
A circle creates the nozzle, then we use the Revolve command to make the 3D rocket body. Simple planar surfaces model the fins which are arrayed around the hull.
Adding Details and Positioning
The engine blast effect uses the Sweep command to make a curved pipe shape from an outline curve. This is cut to reveal only the top half.
The rocket table models are copied, rotated, and positioned on the table top circles. A Boolean Split cuts away the body where it intersects the table.

Creating the Rocket Table Supports
The table top is extruded down to form the legs. A final Boolean Split cuts away the middle portion to open up the table interior.
Rendering the Model
A rendered view shows off the finished rocket ship table model with materials and lighting added. The random angles and blast shapes make for an interesting composition.
Key Points and Takeaways
Modeling the rocket ship table demonstrates several key techniques:
- Setting up layout geometry from simple shapes
- Building reusable components for repetition
- Sweeps and blends to create technical shapes
- Boolean operations to cut and combine objects
- Copying and transforming pieces to vary the arrangement
- Rendering to add realism and visual appeal
Conclusion
This example illustrates the power and flexibility of Rhino's tools for constructing precise 3D models. While this particular model may seem complex, it builds up from a series of basic steps anyone can follow.
With some practice and creativity, you can design and realize almost any object in Rhino 3D. The rocket table makes for a fun showcase model to add to a 3D portfolio!

Rhino for Architects Course
Give your architectural skillset a major boost with the Rhino for Architects Course. Get over 60 hours of focused training tailored specifically for architects. Master commands and techniques to model, render, and animate architectural visualizations at the highest level. Click below for more information and watch your designs come alive!