Modeling furniture is an essential skill for any 3D artist or designer. In this post, we will walk through how to model a wooden table in Rhino step-by-step.
Overview
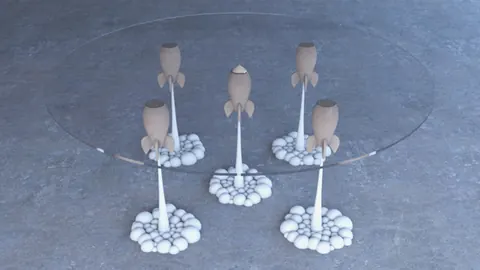
Modeling a wooden table may seem simple, but it requires attention to detail. Our goal is to recreate this modern wooden table design in Rhino:
We will use Rhino's powerful tools like extrude, pipe, and fillet to model the tabletop, legs, and other components.
The steps we will cover are:
- Modeling the tabletop
- Creating angled reference lines
- Extruding the tabletop thickness
- Modeling the table legs
- Using intersect and project to place leg lines
- Piping and filleting the leg edges
- Joining all components into the final table
So let's jump in and see how to model this wooden table in Rhino!
Modeling the Tabletop
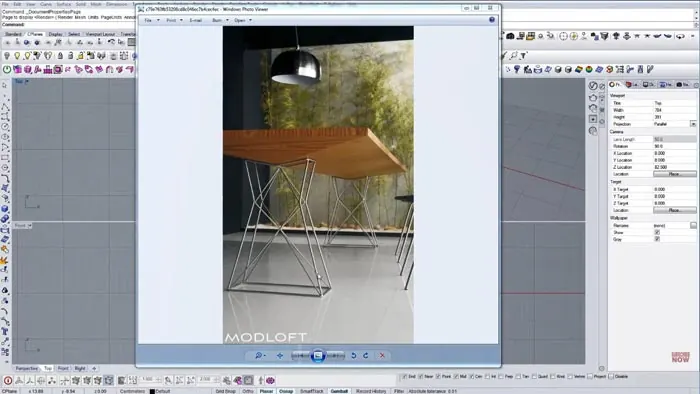
In the first part of the process, we'll be modeling just the top surface of the wooden table. In the Top view, create a rectangle that is around 1200mm x 2000mm. This will be our tabletop.
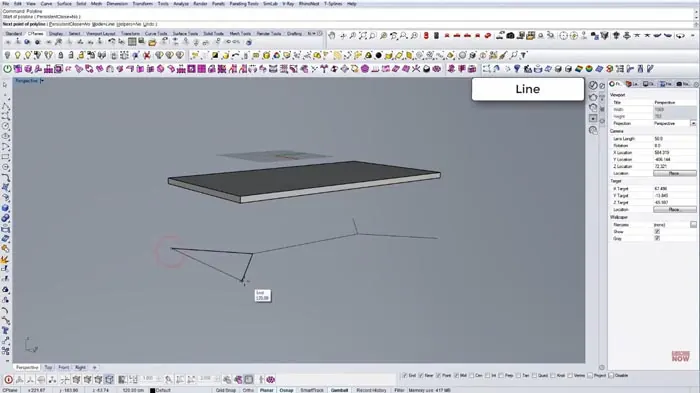
Next, we'll create some reference lines at an angle for the bottom of the table. Looking at our image, we can see there is some inclination around the edges.
Use Rhino's line tool to create these edges, then mirror them to get all four sides.
Now we can extrude the surface downwards to give our tabletop some thickness. Let's use 50mm.
Building the Table Legs
The legs have an interesting shape that curves inwards. We'll draw guidelines to help model this shape.
First create vertical lines where the legs will be positioned, making them around 700mm tall. Extrude the lines to see the overall shape.
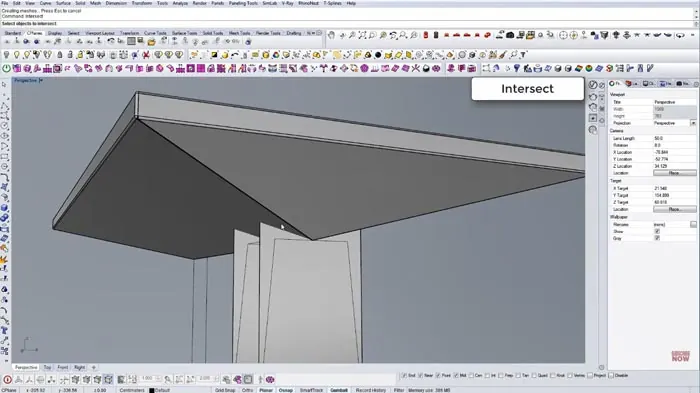
Use the Intersect command to project the leg lines onto the bottom of the tabletop. This gives us 2D profiles to build the legs from.
Trim the lines and adjust the inward curve until it matches the image. Make sure to join the lines into closed loops.
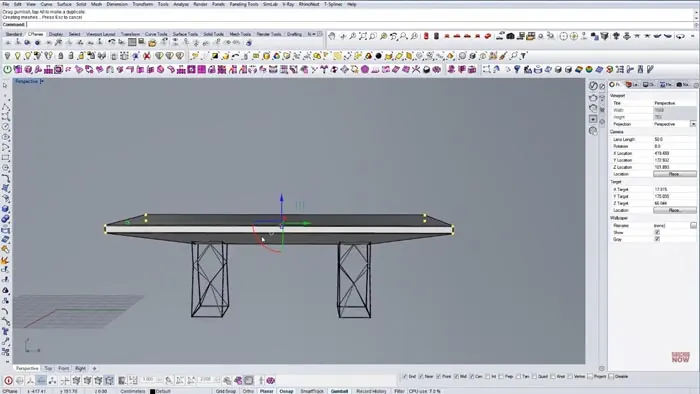
Now use the Pipe command to give the leg profiles thickness and smoothly round the corners. Set the radius to 20mm. Copy and mirror the front leg to create all four.
Finishing the Model
To finish the table, delete any extra lines and make sure all the surfaces are joined into one polysurface.
Add some edge fillets to soften any sharp corners.
Conclusion
And that wraps up this step-by-step guide on modeling a wooden table in Rhino! The key tools we used were:
- Rectangle, Extrude - Building the tabletop
- Line, Intersect - Creating leg guidelines
- Pipe, Fillet - Shaping the legs
Practicing furniture modeling like this is a great way to get comfortable with Rhino's powerful surface modeling toolkit. Furniture often has precise shapes and proportions that require attention to detail, so we hope you found this modeling of a wooden table in Rhino tutorial helpful.

Rhino for Architects Course
Give your architectural skillset a major boost with the Rhino for Architects Course. Get over 60 hours of focused training tailored specifically for architects. Master commands and techniques to model, render, and animate architectural visualizations at the highest level. Click below for more information and watch your designs come alive!