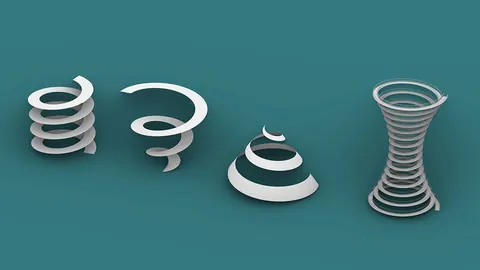
Paneling surfaces is a great way to add complexity and visual interest to your architectural designs in Grasshopper. In this comprehensive tutorial, you'll learn step-by-step how to create a complex paneled surface from scratch using Grasshopper.
Overview
In this tutorial, we'll cover the process of making a pedestrian bridge facade in Grasshopper using parametric modeling. You'll learn techniques like:
- Creating a circular base curve
- Offsetting and lofting to make side surfaces
- Paneling surface using the Skewed Cuts component
- Creating openings by splitting and removing faces
We'll focus on the first part of making the pedestrian bridge facade. The full tutorial is available for supporters on Patreon.
Steps to Paneling Surface
Follow along to create your own paneled surface in Grasshopper:
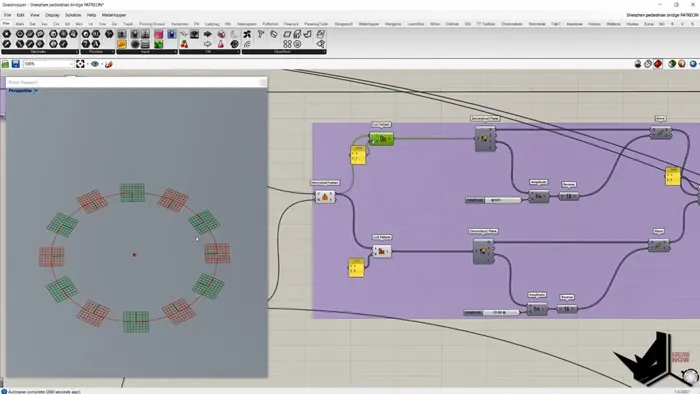
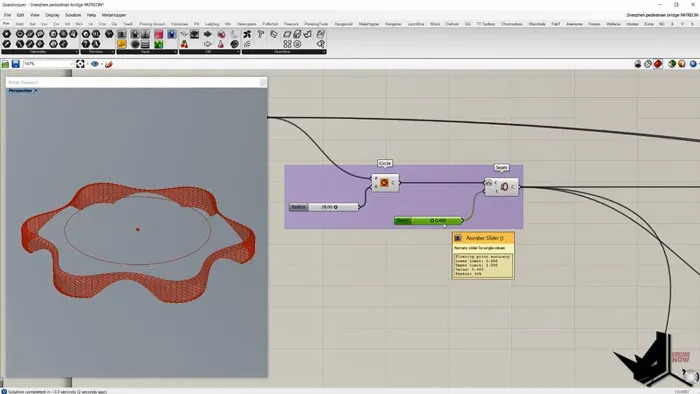
- Make Circular Base Curve
First, create a circle in the XY plane centered around a point. Set the radius to 28 units.
Use the C component to modify the endpoint so we can adjust it later.
- Add Horizontal Divisions
Add 12 horizontal frames to the circle using the Horizontal Frames component.
This will give us 12 divisions we can move to create the base shape.
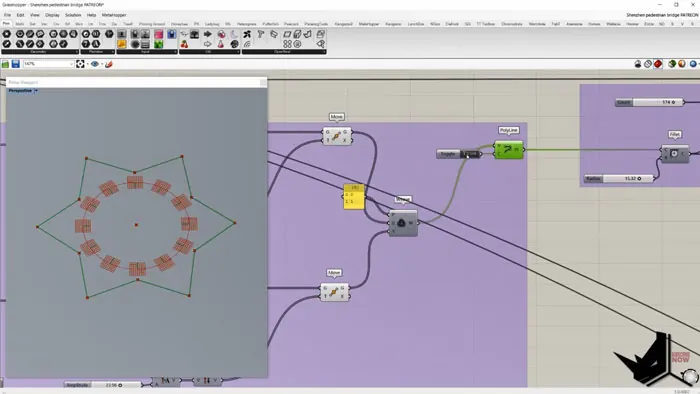
- Offset Alternate Points
Use Pattern List to separate alternate points into 2 lists. Offset them in the Y direction using Move.
This creates a zigzag shape.
- Make Base Surface
Combine the 2 lists of points back into one list using Weave.
Create a closed Polyline through the points. Loft and fill the shape to make the base surface.
- Make Side Surfaces
Offset the initial circular curve and use sweep to create side surfaces.
Make vertical lines between division points to connect the surfaces.
- Create Wavy Edge Curves
Use sine wave curves along the edges to create the wavy pattern.
Loft between the curves to make a cutting surface.
- Panel and Cut the Surface
Use Skewed Cuts to panel the main surface.
Split it with the wavy cutting surface to create openings.
Final Thoughts
As you can see, Grasshopper provides powerful tools for paneling surfaces and manipulating them algorithmically. The key is breaking down the steps and using the right components.
This tutorial showed the overall workflow - watch the full version on Patreon to learn techniques like rounding corners and making panels 3D.
Experiment with your own unique paneled surfaces in Grasshopper! Let me know if you have any other tutorial requests in the comments.
Grasshopper Complete Course
Give your architectural skills a boost with the Grasshopper Complete Course. Get over 50 hours of comprehensive Grasshopper training tailored for architects. Learn to generate and iterate designs faster. Click below for more information and streamline your workflows!