In this tutorial, we will be talking about how to create a parametric brick wall in Grasshopper with flat or curved surfaces.
With out step-by-step tutorial, you will learn how to create this definition and more complex outputs with additional methods. Additionally, we will discuss the customization of brick walls by modifying the dimensions and contours.
Setting up the Surface and Contours
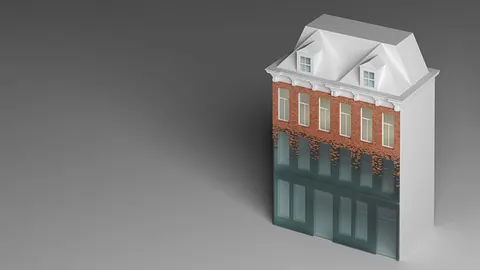
We will start by first creating a surface in Rhino with two curves. We'll use two parallel curves to create a flat surface, and two non-parallel curves to create a curved surface. This surface will be the base of our parametric brick wall, so don't hesitate to spend time on it to design it in just the right shape and size.
Once we've created the surface, we'll generate a bounding box and the contours of the surface. With the Contour component, we will slice the surface in equal parts along the Z axis. We will define these parts or distances by the height of the brick. You will determine the brick height according to your design requirements. This is an important step because it sets up the horizontal lines where the bricks will be positioned in the layout of the wall.
Make sure that all the contours have the same direction. Use the Flip Curve component to avoid any inconsistencies and get a clean look of the wall.

Creating the Brick and Division Points
Now that we have set up the contours, we'll use the Domain Box component to make one brick. We need to determine the length, height and width by placing the dimensions. You can experiment with various dimensions to get different brick sizes and shapes for our brick wall.
Afterwards, we are going to divide the contours we previously created into equal segments. This will allow us to determine the position of the individual bricks. To avoid the bricks overlapping, we need to calculate the length of all the curves and divide them by the length of the brick. Afterwards, we will round up the numbers to achieve appropriate division points. This way all the bricks will be in their proper placement along the contour lines.
We'll create a plane at each division point to use them to position the bricks, by using Tangent and Cross Product components in Grasshopper. We need to orient all of these planes alongside their X axis, and follow the tangent direction.

Positioning the Bricks
The staggered brick pattern is very common in traditional brick walls, so we'll use Split Tree component to extract every other plane from the data tree. This will create a brick pattern where the bricks are offset in adjacent rows. We'll merge the extracted planes and then use Orient to position the bricks on these planes. Consequently, this will create a structurally firm parametric brick wall which is also visually appealing.
Once again, we want to avoid the overlapping of bricks, and also to control the density of the bricks. Therefore, we'll use the component Subtraction, and with the slider, we'll decrease or increase the number of bricks we have.
With adjusting the slider, we can get different density of the wall, so your design is much more flexible.

Advanced Techniques
If you're interested in how to get more complex outputs and parametric brick wall designs, there are additional methods that you can explore.
Multiple Attractor Points
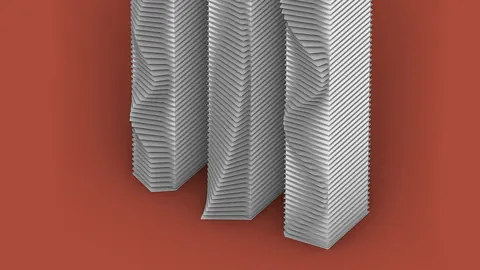
Firstly, we will rotate the bricks based on their placement in relation to attractor points and a range that we had previously defined. This gives us the possibility to create organic, flowing patterns of brick walls.
We can adjust the range of influence and the position of attractor points accordingly. With this, we can control the brick rotation and create more dynamic wall designs.

Curve Attractor
This method uses curves to influence brick rotation based on their proximity to the curve, which allows for higher control of the appearance. With this method, we can create more intricate patterns of brick walls.

Extended Tutorial
If you're interested in learning more about these advanced methods, we have an extended tutorial with project files and detailed instructions on our Patreon page.
If you want to support what we do and get access to this exclusive content, you may want to consider becoming our Patreon, and thus enhancing your skills.

Grasshopper Complete Course
Give your architectural skills a boost with the Grasshopper Complete Course. Get over 50 hours of comprehensive Grasshopper training tailored for architects. Learn to generate and iterate designs faster. Click below for more information and streamline your workflows!