3D printing has become an invaluable tool for architects and designers to quickly prototype and visualize their designs. In this guide, we will walk through the end-to-end process of Rhino 3D printing an architectural facade using the popular 3D modeling software Rhinoceros.
Overview of the Rhino 3D Printing Process
Here is a quick rundown of the key steps we will cover:
- Model the facade in Rhino
- Optimize the model for 3D printing
- Export the STL file
- Slice and configure print settings
- 3D print the facade
- Post-processing
The specific tools we will use are Rhino for modeling, Ultimaker Cura for slicing, and an Ender 3 V2 3D printer. However, the general principles apply across all common 3D modeling software and printers.
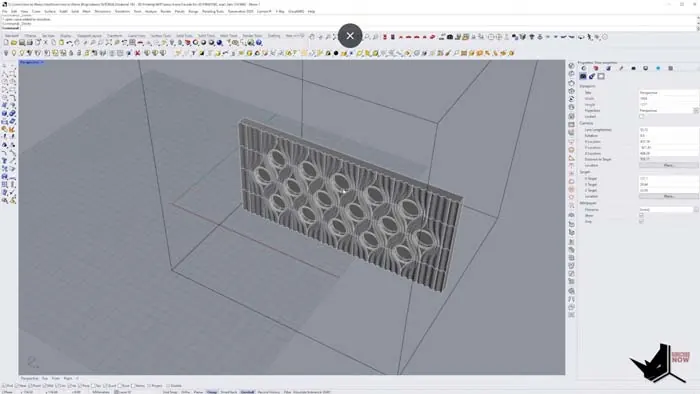
Modeling the Facade in Rhino
We start by modeling the facade in Rhino. It's important to model with 3D printing in mind - keep things solid and manifold. Avoid open edges and naked surfaces.
Once the model is complete, take the following optimization steps for Rhino 3D printing:
- Set units to millimeters
- Size the model to fit the print volume of your printer
- Orient the facade vertically for optimal print quality
- Add guide geometry for print bed size
- Test layer thicknesses on a smaller model
Exporting the STL File
When ready, export the model as an STL file. This triangular representation of the model is what the printer will actually read.
To export, select the model and go to File > Export Selected. Choose STL as the file type.
The default export settings generally work fine.
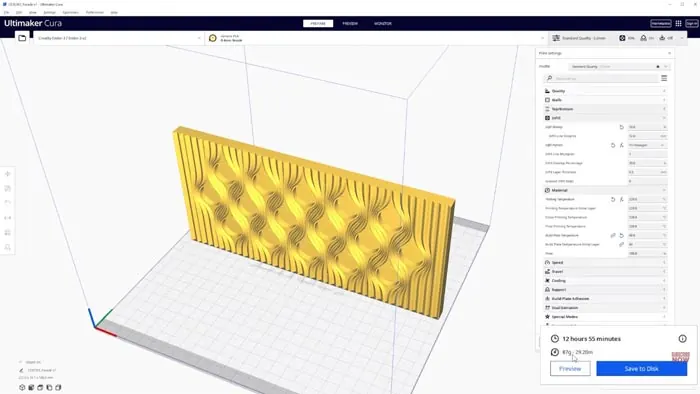
Slicing and Print Settings
With the STL file exported, it's now time to prepare it for printing using a slicing program like Cura. This slices the model into layers and generates the printing instructions called g-code.
Here are the key settings to adjust:
- Print quality - lower is higher detail but slower
- Infill % - adjust interior density
- Supports - generate where needed
- Temperature - based on the material (e.g. 215C for PLA)
Review the layer preview to ensure everything looks good before saving the g-code to SD card.
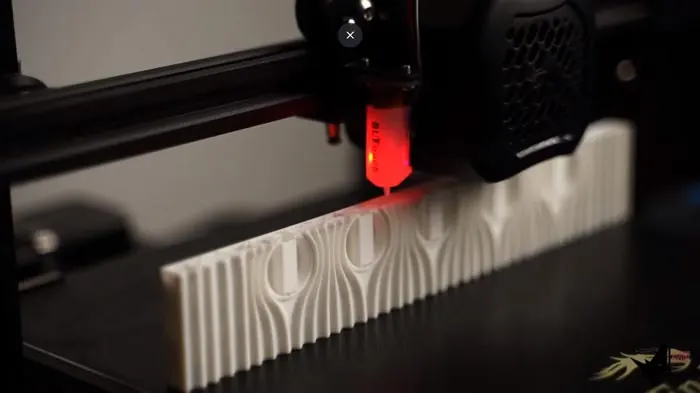
3D Printing the Facade
With g-code ready, it's time to 3D print! Here are some best practices:
- Level the print bed
- Clean the print surface
- Use adhesive like a glue stick
- Monitor first layers
- Don't leave the printer fully unattended
A typical architectural facade will take 12+ hours to print. Make sure filament is loaded and you have ample material for the job.
Post-Processing the Print
Once complete, remove the printed facade from the bed using a spatula. Carefully break away any support material used during printing.
Do any final cleanup and smoothing as needed, and apply paints or finishing coatings as desired.
And that's it - you now have a custom 3D-printed architectural facade! Let us know if you have any other questions on the Rhino 3D printing process.

Rhino for Architects Course
Give your architectural skillset a major boost with the Rhino for Architects Course. Get over 60 hours of focused training tailored specifically for architects. Master commands and techniques to model, render, and animate architectural visualizations at the highest level. Click below for more information and watch your designs come alive!