Grasshopper is an incredibly powerful plugin for Rhino that allows you to create complex generative geometry and scattering systems. In this tutorial, we'll learn how to scattering with Grasshopper to randomly distribute trees and people on surfaces in your Rhino scene.
Overview
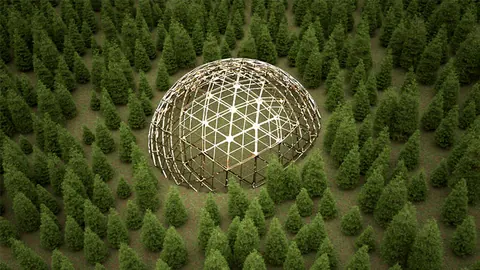
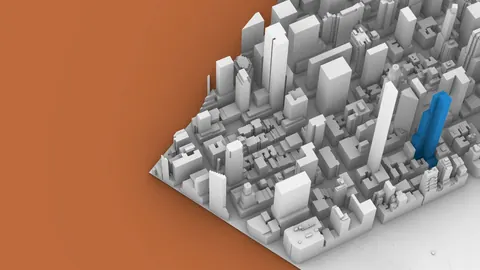
With Grasshopper, you can easily control the density, scale, rotation, and type of objects that are randomly scattered across designated surfaces. This allows you to quickly generate realistic environments filled with various models and geometry.
Setting Up the Surface for Scattering with Grasshopper
First, let's import the surface we want to scatter objects on into Grasshopper using a Brep component.
To extract the naked edges, we can use a BrepEdges component. This gives us the outline of the surface to define a boundary for scattering with Grasshopper.
Next, we need to join the edges into complete polysurfaces. The joined edges are then projected onto the XY plane so we can work with them in 2D.
We'll offset the edges inwards so our objects don't get placed right on the edges of the surface. This offset curve will become the boundary for random point scattering with Grasshopper.

Generating Random Points
Using the Populate Geometry component, we can generate random points within the offset boundary surface. The number of points is controlled by the Iteration input.
Now we need to project these points onto the original 3D surface. The ProjectPoint component handles this, taking the points on the XY plane as input P, the projection direction Z as input D, and the original surface as input G.
Importing Object Geometries
Next, we need to import the geometries we want to scatter. Bring the various object models into a Geometry container in Grasshopper.
To position the models properly, we need to find the bottom center point of each one. This can be obtained from each object's bounding box.
DeconstructBrep gives us access to the box points. We can then sort the points based on their Z coordinate - the minimum Z will be the bottom center point.
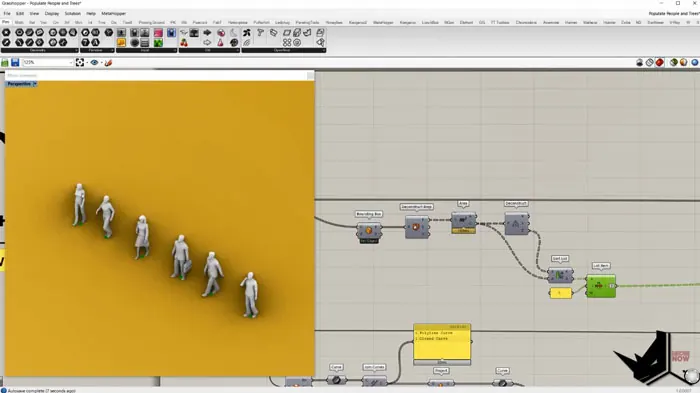
Orienting Objects to Points
The Orient component allows us to remap geometries from one coordinate system to another. For each object, we:
- Create an XY plane at its center point
- Orient it from this initial plane to the target scatter point's plane
This scatters each object onto the random points!
There's a complication though - we need the number of initial planes and models to match exactly, or models get incorrectly reused.
The LongestList component ensures the model and plane lists are the same length by duplicating items. Wrap mode further replicates the shorter lists.
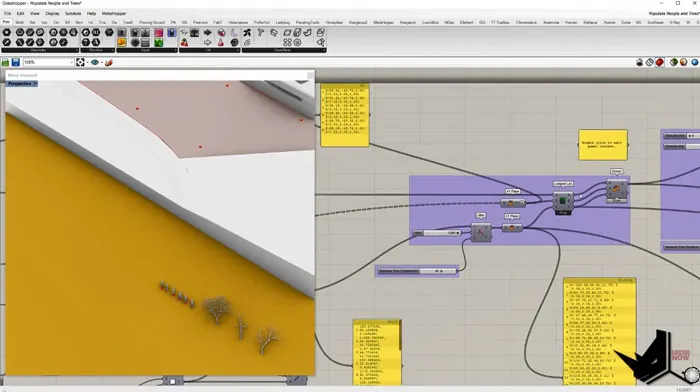
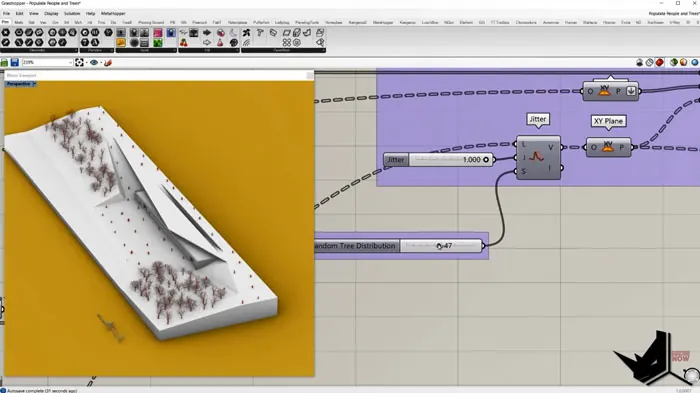
Adding Variation
To make the scattering with Grasshopper more realistic, we can randomize the rotation and scale of each object instance.
Rotation uses a Random component with a range from 0 to 360 to generate random values. These are converted from degrees to radians before being input into RotateGeometry.
For scale, the Random component creates a range of values from 0.85 to 1.15, which drives the scaling factor of ScaleGeometry.
Adjusting the seed values gives you lots of control over the variation.
Summary
That covers the core workflow for scattering geometries! With these Grasshopper techniques, you can quickly generate complex scenes filled with objects.
The same overall process can be used to scatter any kinds of models like trees, furniture, people, etc. Have fun bringing your Rhino scenes to life with scattering in Grasshopper!
Grasshopper Complete Course
Give your architectural skills a boost with the Grasshopper Complete Course. Get over 50 hours of comprehensive Grasshopper training tailored for architects. Learn to generate and iterate designs faster. Click below for more information and streamline your workflows!