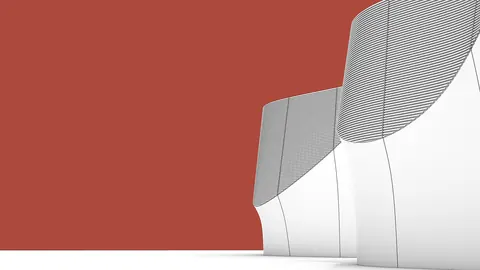
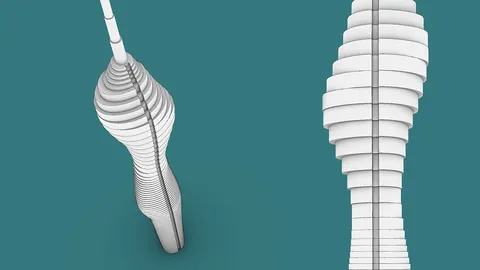
Rhino's new SubD modeling tools allow you to create intricate, organic shapes easily. In this post, we'll look at how to use SubD component in Rhino and Grasshopper to model complex geometry.
Overview of SubD Components
SubD stands for "subdivision surface" - this modeling technique splits a shape into smaller faces, allowing you to create smooth, curving forms.
Rhino 7's SubD components generate subdivision geometry meshes. By combining these with booleans and planes in Grasshopper, you can craft intricate shapes.
We'll model a sculptural void with stepped edges, similar to this competition entry by Daniel Widrig.
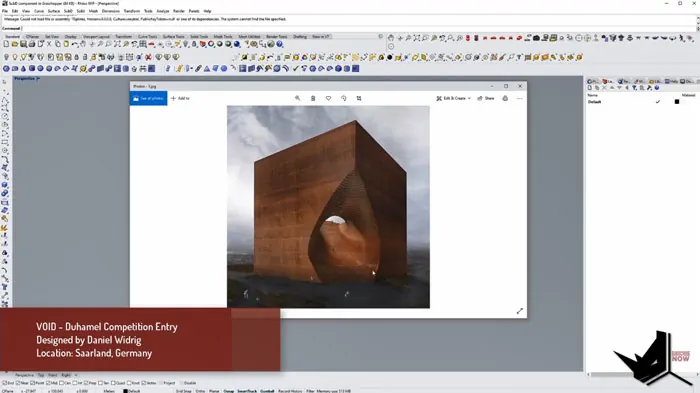
Key skills we'll cover:
- Creating SubD objects in Rhino
- Combining SubD with booleans and planes in Grasshopper
- Controlling SubD geometry through curves and control points
Step 1 - Model a SubD Sphere in Rhino
First, make a box in Rhino for the overall form. For dimensions, approximately 1000 x 1000 x 500 will do.
Next, create a SubD sphere. You'll need Rhino 7 WIP for the SubD tools.
Resize and stretch the sphere to fit inside the box. You can scale parts of it with control + shift + double click.
Use wires and control points (F10) to refine the shape. Aim for an organic, swollen form.
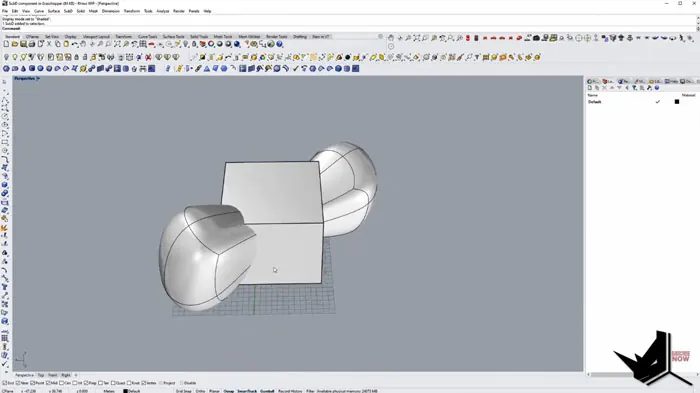
Step 2 - Boolean Difference in Grasshopper
Now we'll bring the elements into Grasshopper:
- Add a SubD component and set it to the sphere
- Add a Brep component for the box volume
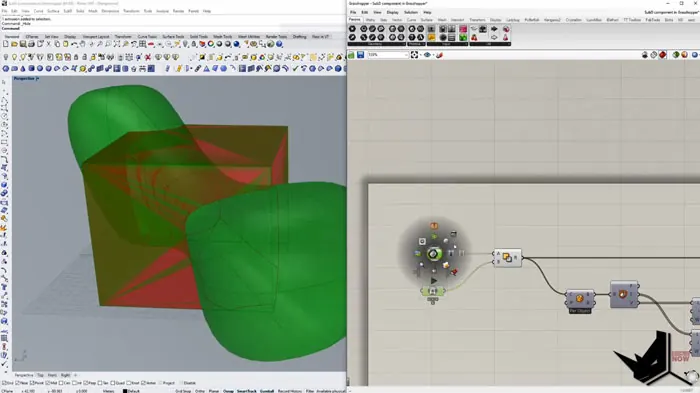
- Boolean difference between the two
This will cut the sphere out of the box, creating a void.
Control the smoothness with SubD levels - higher means more geometry triangles.
Step 3 - Cut with Planes
To make the stepped edge effect:
- Get the Z height of the box
- Divide into segments
- Generate planes at each division
- Use Brep/Plane to split the SubD mesh
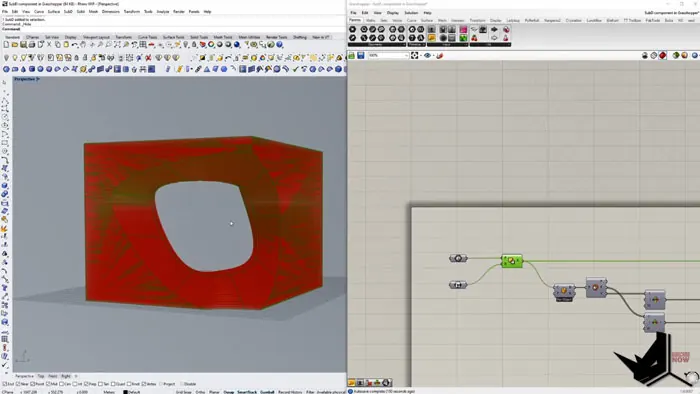
This will slice the form into sections with flat tops. Adjust segment count to control stepping resolution.
Step 4 - Refine the Base Shape
A great thing about the SubD workflow is you can edit the base curve/surface to update the final shape.
Some options:
- Move control points of the original sphere
- Swap in a different curved surface
- Try a SubD cylinder or torus
This flexibility lets you iterate on designs easily.
Recap
To wrap up, we looked at:
- SubD components - Create smooth, organic shapes in Rhino
- Booleans - Cut voids and openings
- Planes - Slice into sections with flat edges
- Control points - Modify the base shape to update the mesh
Combined creatively, these tools let you model complex forms with ease.
The SubD modeling approach is intuitive and fun - give it a try in your next Rhino project!
Let me know in the comments if this tutorial helped you, and please share if you found it useful. Subscribe for more Rhino techniques coming soon.
Rhino for Architects Course
Give your architectural skillset a major boost with the Rhino for Architects Course. Get over 60 hours of focused training tailored specifically for architects. Master commands and techniques to model, render, and animate architectural visualizations at the highest level. Click below for more information and watch your designs come alive!

