In architecture and interior design, organic shapes and patterns are becoming increasingly popular to create visually interesting spaces. One great way to add an organic feel to a space is with a wavy wall pattern. In this tutorial, we'll look at how to model this type of wall pattern in Rhino using Grasshopper.
Overview
In this Grasshopper tutorial, we'll learn how to create a wavy texture for wall panels using a few simple steps:
- Generate points along a surface
- Pull points on curves toward the generated points
- Create curves from the displaced points
- Loft arcs between curves to create the wavy panels
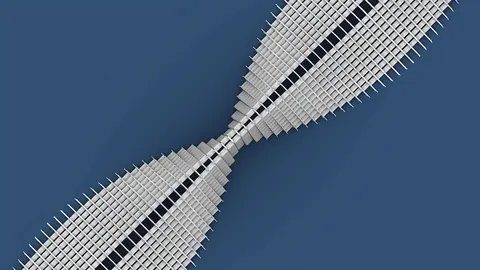
The end result will be a panelized wavy wall with a randomized organic pattern. Grasshopper is perfect for creating geometries like this procedurally.
Generating Points on a Surface
First, we need a surface to work with. We'll create a simple rectangular surface and array lines along the Z axis using Grasshopper components.
Next, we'll randomly generate points across this surface using the Populate Geometry component. This populates the surface randomly while keeping the points away from the edges.

Pulling Points Towards the Surface
Now we have our reference points on the surface. We want to pull points from curves towards these random points to create our wavy pattern.
To do this, we:
- Divide the lines into points
- Pull these points toward the random points on the surface
- Use the resulting vectors to move the original points and create new wavy curves
This displaces the points based on their proximity to the random points on the surface. Closer points are pulled more than ones further away.

Creating the Wavy Wall Pattern
With the wavy curves created, we just need to connect them to make the wall panels. We do this by:
- Finding the start points of each curve pair
- Creating arcs between them
- Using Sweep 2 to create the wavy shapes
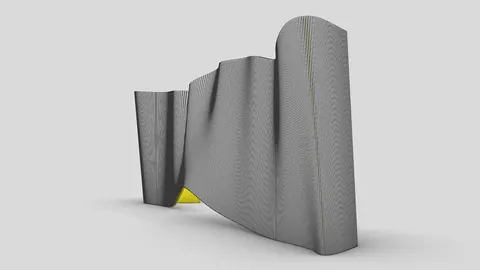
This lofts a surface between each curve pair to complete the wavy wall panels.

Adding Thickness
To give the wall thickness, we can simply extrude the original surface and use it to trim the wavy panels. This keeps the edges straight while adding depth.
The end result is a randomized wavy wall pattern with a clean rectangular outline, perfect for interior and architectural applications.

Benefits of a Generative Workflow
Creating this procedurally in Grasshopper has some great benefits:
- The pattern is randomized so each result is unique
- It's quick to model compared to manual modeling
- We can easily edit the shape by changing the input curves
- The overall form stays clean and rectangular
This would be incredibly tedious to model manually but Grasshopper lets us generate it automatically in minutes!
Wavy Wall Pattern - Recap and Next Steps
In this tutorial, we learned how to:
- Populate a surface randomly with points
- Displace points on curves based on proximity
- Sweep between curves to create wavy panels
- Trim geometry to create thickness
The wavy wall pattern is a great example of the organic shapes you can create in Grasshopper. To take this further, you could:
- Try different input curves for unique patterns
- Add irregular edges instead of straight lines
- Experiment with attractor shapes other than points
- Adjust the displacement amounts for different effects
Final Thoughts
Grasshopper is the perfect tool for creating these organic patterns procedurally. With a little creativity, you can make all kinds of interesting sculptural forms!Let me know in the comments if you give this wavy wall pattern a try or if you have any other questions. And be sure to subscribe for more Grasshopper tutorials soon!
Grasshopper Complete Course
Give your architectural skills a boost with the Grasshopper Complete Course. Get over 50 hours of comprehensive Grasshopper training tailored for architects. Learn to generate and iterate designs faster. Click below for more information and streamline your workflows!