Grasshopper is an incredibly powerful visual programming tool for Rhino that allows you to create complex geometries and manipulate them. However, dividing uneven surfaces into panels can be tedious and time-consuming in Grasshopper. This is where the Lunchbox Plugin comes in handy!
In this blog post, I'll walk you through a tutorial on how to use the Lunchbox in Grasshopper to easily divide surfaces into panels.
Overview of the Lunchbox Plugin
The Lunchbox Plugin is an amazing add-on for Grasshopper that makes dividing surfaces much easier. With the plugin, you can quickly divide surfaces into hexagons, rectangles, and skewed quad panels. It saves you tons of time compared to doing the divisions manually in Grasshopper. You can create panels like this in no time:

Some key benefits of using Lunchbox:
- Create paneling on complex surfaces with just a few clicks
- Adjust the U and V divisions easily
- Works with Grasshopper's Live Geometry to update panels when you modify the surface
- Generates clean piping between panels
Next, let's go through a step-by-step tutorial on using it in Grasshopper.
Using the Lunchbox Plugin in Grasshopper
1. Model a Surface in Rhino
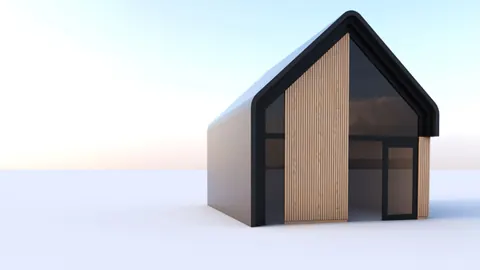
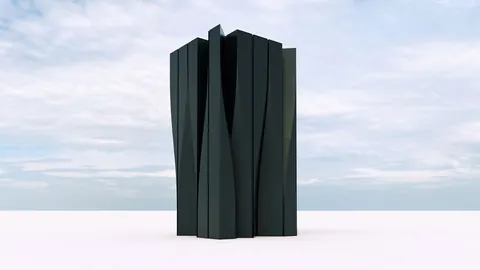
First, we'll model a simple surface in Rhino that we want to panelize. Here, I'll extrude a T-spline and do some shaping to create an uneven surface.

Once you have the surface ready, convert it to a Rhino surface. We'll bring this into Grasshopper next.
2. Bring the Surface into Grasshopper
In Grasshopper, import the Rhino surface by right-clicking and selecting "Set one surface".
Then, bring in the Lunchbox components for panels. We'll use the hexagon, rectangle, and skewed quad panels.
3. Connect the Surface and Specify Divisions
Connect the surface to each Lunchbox panel component. For divisions, let's do 15 U and 20 V for the hexagons.
For the rectangles, we'll do the default 10 divisions. The skewed quads will use the original surface.

4. Create Piping
To create piping between the panels, merge the surfaces together and extract the edges. Then use the Pipe component to generate pipes.
5. Modify the Surface
One of the best features of using the Lunchbox Plugin is that the panels update when you modify the surface. For example, if we move one of the surface control points in Rhino, the panels automatically update.

This is really useful so you don't have to redo all the divisions every time you tweak your surface.
6. Bake the Results
Finally, you can bake the different paneling results to get the final mesh geometry. And we're done!
The Lunchbox Plugin makes surface paneling so much faster in Grasshopper.

Conclusion
The Lunchbox Plugin is an invaluable addition to your Grasshopper toolkit. In just a few quick steps, you can divide complex surfaces into clean panels and piping.
Key takeaways:
- Easily generate hexagon, rectangle, and skewed quad panels
- Adjust number of divisions quickly
- Get clean piping between panels
- Surface updates keep panels in sync
Give the Lunchbox a try on your next Grasshopper project that involves paneling. It will save you a ton of time and effort!
Grasshopper Complete Course
Give your architectural skills a boost with the Grasshopper Complete Course. Get over 50 hours of comprehensive Grasshopper training tailored for architects. Learn to generate and iterate designs faster. Click below for more information and streamline your workflows!