Mesh topology is one of the most powerful and versatile tools available in Grasshopper. With the right mesh topology plugin, you can take your Grasshopper skills to the next level and create intricate, customized meshes for architectural projects, product design, and more. In this blog post, we'll explore an easy yet powerful workflow for creating a complex tensile mesh structure.
Overview
In the provided Rhino Grasshopper tutorial scripts, we use a combination of tools including the Voronoi diagram, Kangaroo engine, and the game-changing Stripper plugin. With these tools, we can quickly generate a Voronoi diagram, refine the mesh, simulate tension and compression forces, divide the mesh into stripes, and map randomized texture tiles. The result is an elegantly warped, striped mesh surface ready for fabrication and installation.
While the original tutorial focuses on the graphical workflow, in this blog post we'll break down the key steps and plugins that make this possible. Any Grasshopper user looking to improve their skills with mesh topology and Kangaroo physics will learn valuable techniques from this project.
Generating the Base Mesh
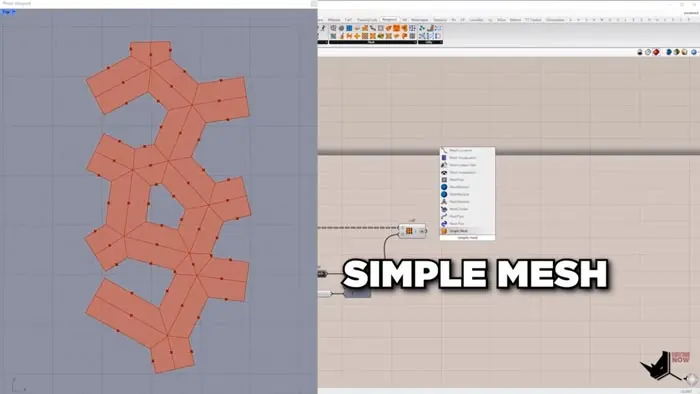
The first step is generating the base mesh topology that will form the foundation for our tensile structure. We start with the Voronoi Diagram component to generate an abstract Voronoi grid within a bounding rectangle. Adjusting the Cell Count allows us to control the density of the diagram.
Next, we trim the mesh and use a series of steps to remove overlapping lines and re-order the curves to create closed polylines. By lofting between cross sections we generate meshes from each cell, then weld them into a single unified mesh.
Up to this point, we've used native Grasshopper components to generate our base mesh topology. Now, we'll leverage the Kangaroo physics engine to refine the shape.
Sculpting the Mesh with Kangaroo
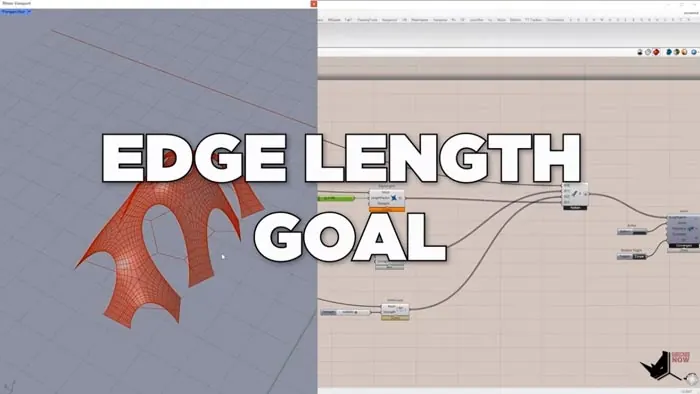
After generating the initial mesh, we use Kangaroo components like Refine Mesh and Apply Vertex Forces to sculpt the shape into an organic tensile structure. The key steps are:
- Anchor certain vertices along the boundary of the mesh to act as fixed points
- Apply forces to the interior vertices to stretch the mesh into the desired form
- Adjust edge lengths to prevent irregular triangles and improve fabrication
With just a few Kangaroo components, we can refine the mesh topology into a smooth, architectural form. The physics simulation handles all the complexity for us.
Dividing into Stripes with Stripper
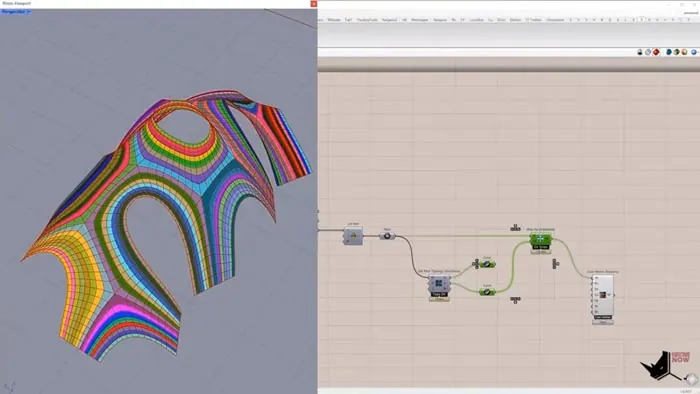
Here's where the Stripper plugin brings something truly unique to the workflow. Stripper allows us to divide a mesh into customizable strips or bands based on direction vectors.
To generate the strips:
- Extract direction vectors from the mesh edges
- Feed the vectors and mesh into the Stripper component
- Adjust strip widths and other settings
In a few clicks, the continuous mesh separates into individual strips perfect for panelization and fabrication. We can even add loops and shifts between strips to create more complexity.
Mapping Panels with Random Tiles
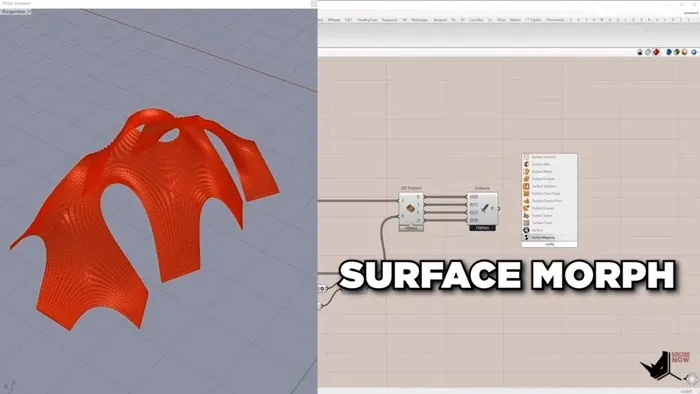
The final step is using the stripped mesh to map an array of randomized texture tiles. By dividing the mesh faces into separate surfaces, we can feed them into the Surface Morph component along with an array of base tiles.
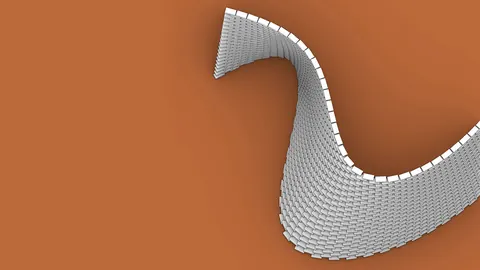
By shuffling and rotating the tiles, each face of the mesh maps to a unique panel design. In the provided tutorial, this results in a sweeping striped pattern across the mesh surface for dramatic effect.
This demonstrates the power of Grasshopper's associations and data trees to create controlled randomness -- perfect for architectural cladding and facades.
Mesmerizing Results with Mesh Topology Plugins
As you can see, the combination of native Grasshopper, Kangaroo, Stripper, and some clever data manipulation allows us to generate mesmerizing mesh structures readily. Specifically, the incredible flexibility of the Mesh Topology Plugin Stripper opened up options simply not possible before.
While this project focused on a tensile surface, the same workflow applies to any application where you need to divide a mesh for panelization or apply unique details to faces. Whether it's a sculpture, building enclosure, wireframe display, or something totally abstract, mesh topology plugins like Stripper empower you to take designs into new territory.
Final Thoughts
Of course, fully utilizing these tools takes practice and experience. For designers looking to take their Grasshopper skills to the next level, enrolling in structured courses and training is highly recommended. But if you follow the core concepts from this tutorial, it will provide a rock-solid foundation to start creating your own innovative designs with Grasshopper's mesh topology plugins.
The extended version of this tutorial is also available, where we cover preparing the design files for digital fabrication. This includes organizing pieces for nesting, adding flaps for assembly, and generating assembly diagrams.
So start playing with mesh topology plugins like Stripper, Kangaroo, and more today. They truly unlock new creative possibilities that are only limited by your imagination.
Grasshopper Complete Course
Give your architectural skills a boost with the Grasshopper Complete Course. Get over 50 hours of comprehensive Grasshopper training tailored for architects. Learn to generate and iterate designs faster. Click below for more information and streamline your workflows!