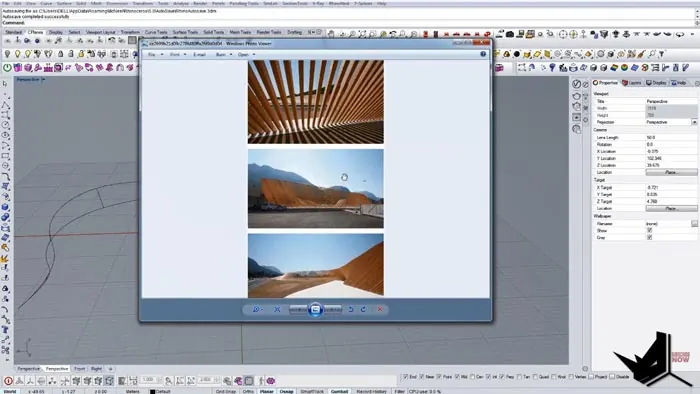
Rhino is one of the most versatile and powerful 3D modeling tools available today. With its advanced surfacing capabilities, we can create stunning landscaping in Rhino. In this article, we will walk through the process of landscaping design in Rhino step-by-step.
Overview of the Landscaping Project
For this project, we will model an abstract landscaping design with wooden beams using Rhino's surface modeling tools. We will start by creating the base surface by lofting and fine-tuning curve profiles.
Next, we will use Grasshopper, a visual programming plugin for Rhino, to divide the surface evenly and extract every other division line. This will give us the layout of the wooden beams.
After bringing the extracted lines back into Rhino, we will use surface offsets and booleans to create the 3D shapes of the wooden beams on top of the surface.
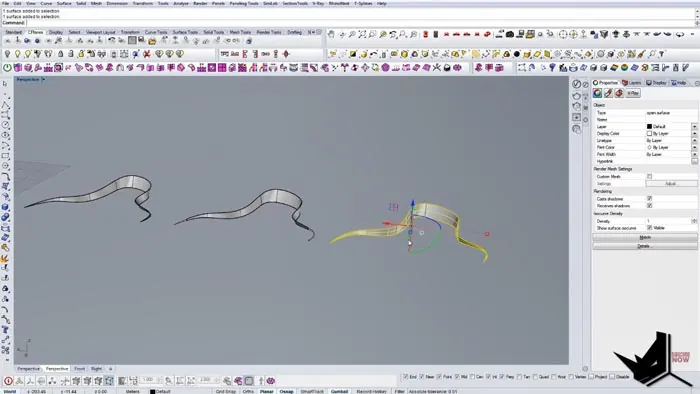
Base Landscaping Surface in Rhino
There are a couple of different ways we can create the base surface for our landscaping design in Rhino. The method we choose will affect the accuracy of the wooden beam layout since it will be derived from the surface.
Using Rhino's Loft command can result in skewed beam layout lines since it ignores the perpendicular edges we defined. The Sweep2 command leaves gaps in the surface.
The best approach is using Rhino's NetworkSurface command. This creates a watertight surface that aligns properly with the perpendicular profile curves.
After creating and fine-tuning the curves, NetworkSrf gives us the clean result we need for the next steps.
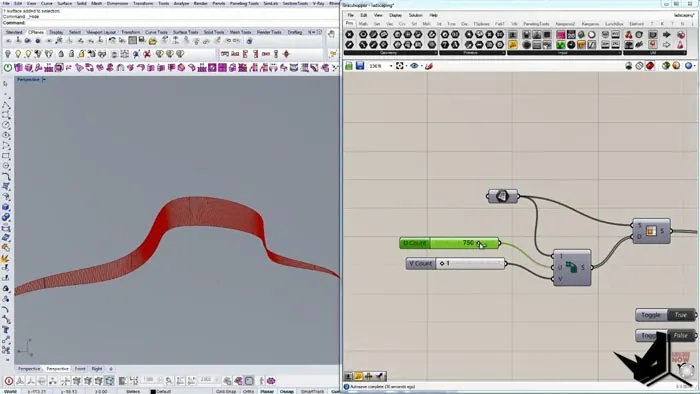
Dividing the Surface Pattern with Grasshopper
With the base surface ready, we will bring it into Grasshopper to divide it into a pattern.
First, we extract the surface geometry and feed it into the Isotrim component to split it into divisions.
Next, we define the number of divisions, in this case 750 across the length.
Finally, we use the Mod component to extract every 2nd line to create the beam pattern.
After baking the result back into Rhino, we have the layout for the wooden beams.
Modeling the 3D Wooden Beams
To create the 3D shapes of the beams, we first make an offset surface of the base landscaping. This gives them some thickness.
Next, we use a rectangular cutting plane and Boolean Difference to trim off the underside shape.
Aligning the beams to the center completes the landscaping model, ready for realistic rendering and visualization.
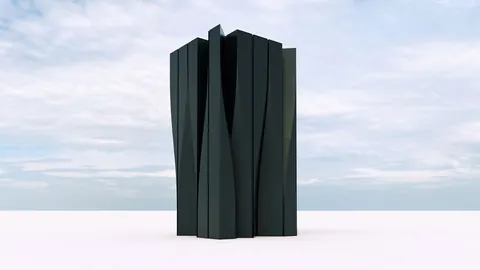
Rendering the Final Landscape Design
With Rhino's powerful rendering engine, we can create photorealistic visualizations of the completed landscaping design, showing how the wooden beams fit into the abstract organic surface.
Adding suitable textures and lighting completes the rendering, producing marketing images for landscape architects and clients.

Key Takeaways for Landscaping in Rhino
- Rhino provides versatile 3D modeling tools for landscaping design.
- Choosing the right surface creation method is crucial for patterning.
- Grasshopper provides advanced parametric patterning capabilities.
- Offset surfaces and booleans make modeling 3D shapes easy.
- Photorealistic rendering enables impressive visualizations.
With Rhino's robust feature set, landscape architects can bring their creative visions to life. The landscaping design possibilities are practically endless. This tutorial showed a workflow for modeling wooden beam designs, which can be adapted to create all kinds of innovative landscapes.

Rhino for Architects Course
Give your architectural skillset a major boost with the Rhino for Architects Course. Get over 60 hours of focused training tailored specifically for architects. Master commands and techniques to model, render, and animate architectural visualizations at the highest level. Click below for more information and watch your designs come alive!