Learning how to model stylish and unique stairs in Rhino can greatly expand your architectural design capabilities. In this step-by-step tutorial, we will show you how to model some modern, sleek stairs using Rhino's powerful modeling tools.
Overview of Modeling Stylish Stairs
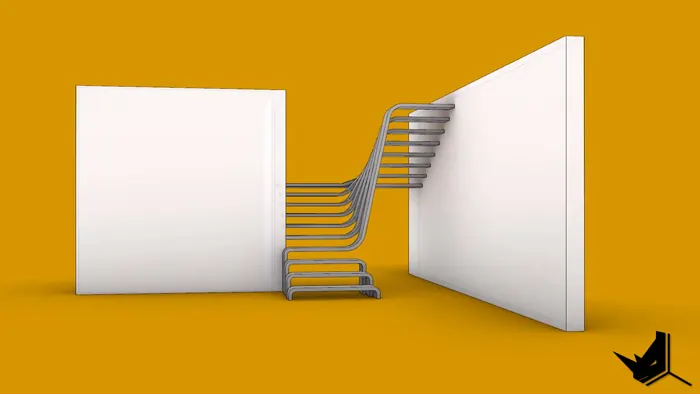
In this Rhino modeling tutorial, we will be modeling the following stylish staircase design:
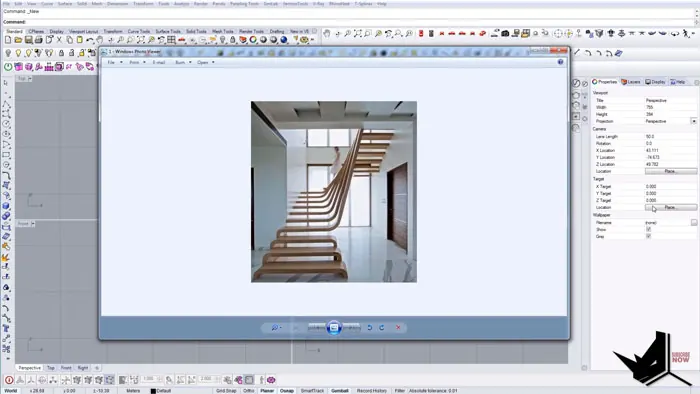
As you can see, these stairs have some nice smooth curves and edges that give them a very modern, aesthetic look.
To model these stairs, we will be using Rhino's tools like:
- Reference lines and points
- 2D lines
- Moving, rotating, copying
- Joining curves
- Extrusions
- Boolean operations
- Offsets
- Fillet edges
Using these tools strategically will allow us to model this stair design accurately and efficiently in Rhino.
So let's get started!
Setting Up with Reference Geometry
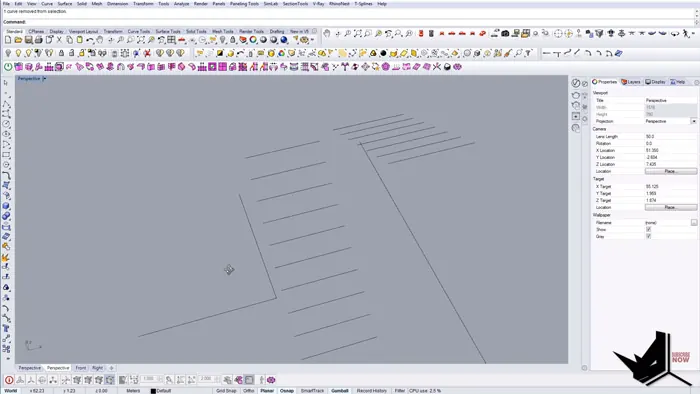
First, we will set up some reference lines and points to map out the basic framework of the stairs:
- Set the stair tread length to 1.2 meters
- Make vertical reference lines every 0.2 meters for the risers
- Copy the vertical lines 10 times total for 10 steps
- Add reference lines on the top and sides for railings
This will give us a rough outline to then model the actual 3D stairs geometry on top of.
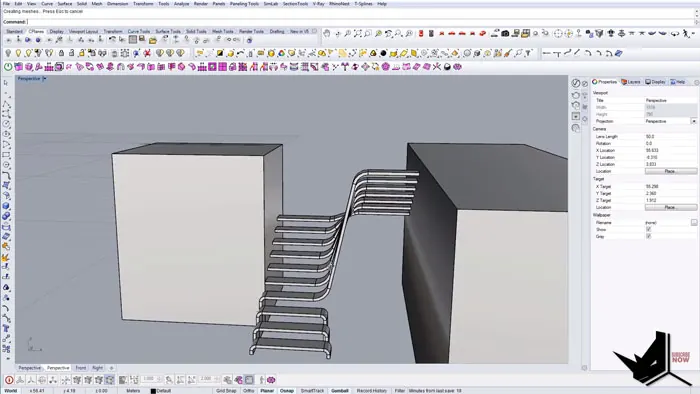
Modeling the Steps
With the references in place, we can start creating the actual stair forms:
- Draw 2D profiles for each tread and riser
- Move the profiles to align with the reference layout
- Perform boolean join operations to connect the step profiles
- Add thickness to turn the 2D profiles into 3D steps
- Use the Smooth command to round the step edges
Following this process, we can build up each step one by one to construct the complete staircase.
Adding Railings and Supports
To finish off the stairs, we need to add the side railings and wall supports:
- Draw vertical surfaces for the side walls
- Extrude the wall surfaces to give them thickness
- Use Surface Offsets to create the railing profile
- Perform boolean splits to create gaps in the railings
- Fillet the railing edges to smooth them out
These final touches will really help sell the sleek, modern style of the stairs.
Final Thoughts
And there we have it - some beautiful stylish stairs created right inside Rhino3D. This staircase model shows how powerful and flexible Rhino's tools are for crafting complex geometry.
The key is to strategically build up the model using reference layouts, precision modeling tools, and boolean operations. With practice, you'll be able to model all kinds of intricate staircases, railings, furniture, and architectural elements.
To recap, the main steps we followed were:
- Set up reference geometry
- Model individual step profiles
- Join and extrude steps into 3D
- Add side walls and railings
- Refine shapes with fillets and smoothing
Hopefully, this gives you a good foundation on modeling techniques for crafting creative stairs in Rhino. Let us know if you have any other tips or tricks for designing staircases!
Rhino for Architects Course
Give your architectural skillset a major boost with the Rhino for Architects Course. Get over 60 hours of focused training tailored specifically for architects. Master commands and techniques to model, render, and animate architectural visualizations at the highest level. Click below for more information and watch your designs come alive!